Note: I should warn you that I was in a colorful, zippy mood last night when I whipped this up, so I went over the top with color and contrast for these photos. I’d been feeling entirely too serious and needed a little pick-me-up. Forgive me if they hurt your eyes.
*The author of this post is not responsible for the formation of saddle bags and love handles, which will result in 93% of cases.
*But we won’t worry about that today. We’ll worry about that tomorrow…or at least once Thanksgiving is over.
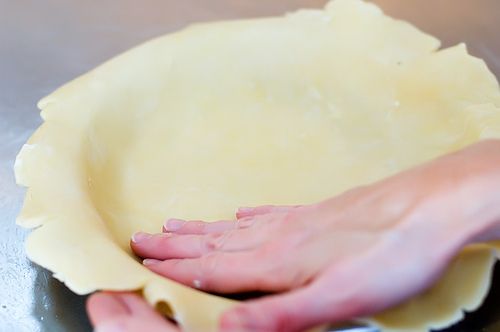
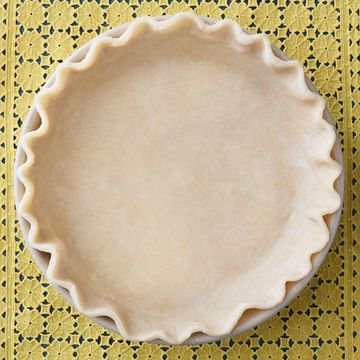
First things first: make one recipe of Perfect Pie Crust. It’ll yield two pie crusts, and you can save the second one in the fridge for this apple pie, or the other pie we’re going to make this week.
No, my hand is generally not that pink.
The cast of characters: corn syrup, butter, sugar, brown sugar, salt, vanilla, chopped pecans.
I chop the pecans into uniform pieces, but I also get some really little bits in there. The teeny, tiny pieces help the crunch later.
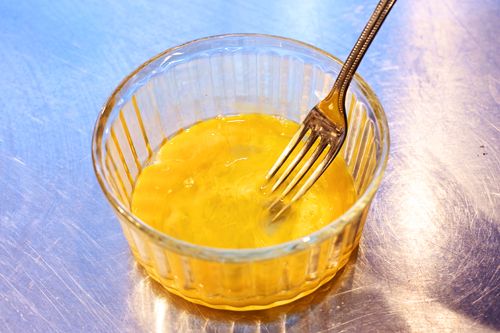
Begin by stirring three eggs in a small bowl.
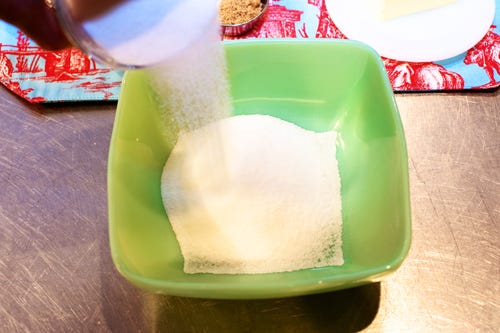
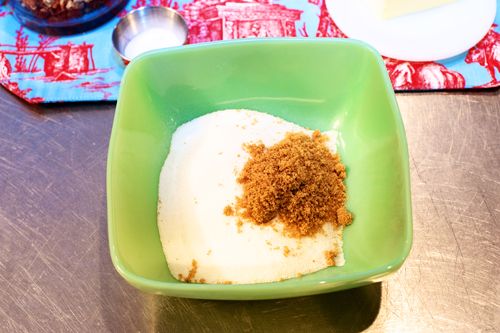
Now, in a separate bowl, add the sugar…
Brown sugar, and salt.
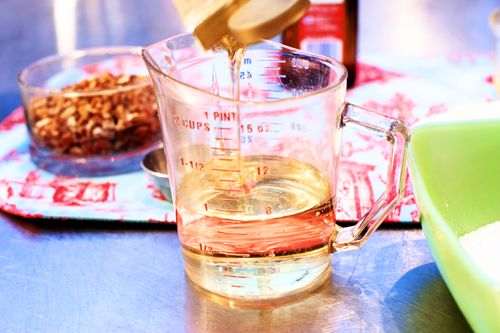
Then measure 1 cup of corn syrup. It’s thick, sweet, and nutritious.
Okay, so it’s not exactly nutritious.
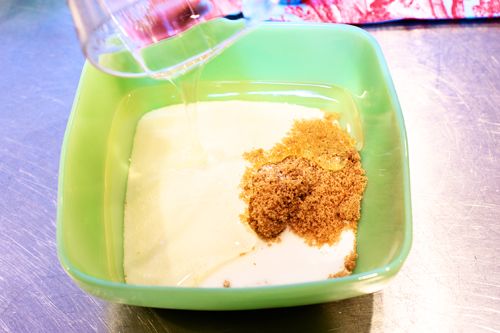
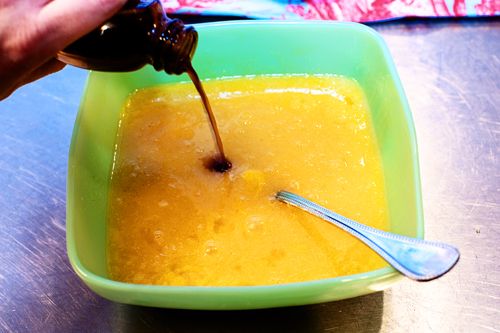
In any event, pour the corn syrup into the bowl.
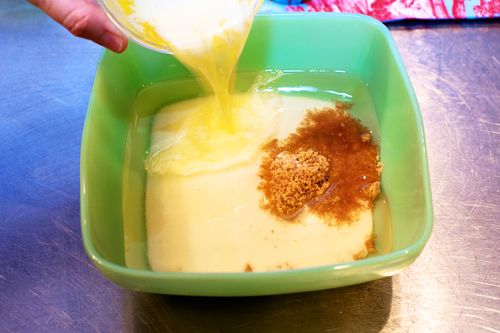
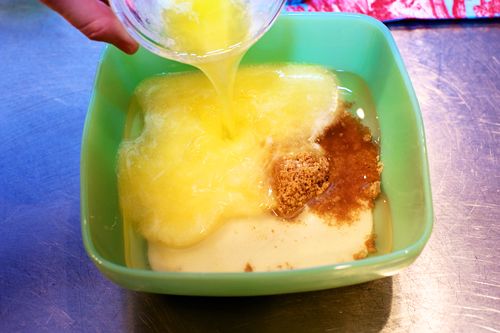
Next, melt the butter and pour it into the mix.
Mmmm…butter. It makes it better.
And pardon my pink finger. I TOLD you I went crazy with color and contrast.
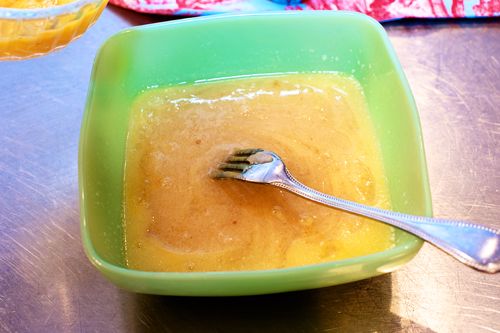
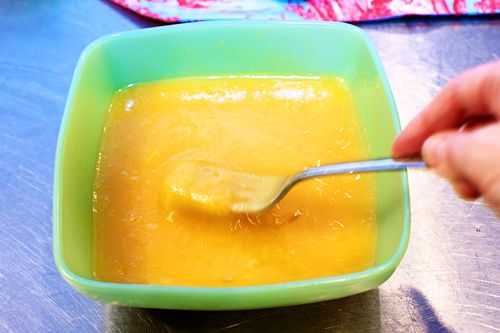
Now just give it a stir, making sure all ingredients are combined well.
And don’t lick the fork. It isn’t ladylike.
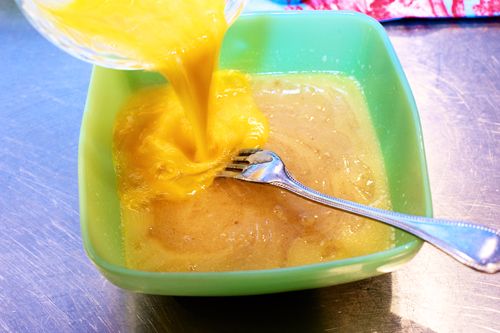
Next, pour in the beaten eggs.
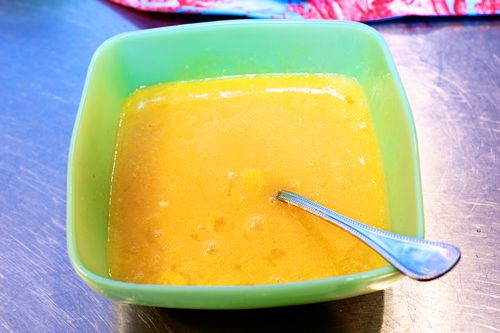
And stir it ’til combined.
Next, eyeball about 3/4 teaspoon vanilla extract.
Sometimes I just can’t be bothered with reaching for my measuring spoons.
Sometimes I just can’t be bothered with reaching.
Sometimes I just can’t be bothered.
Sometimes I just can’t.
I’ll stop now.
Anyway, don’t overdo the vanilla, as it can take over very quickly.
Give it one final stir.
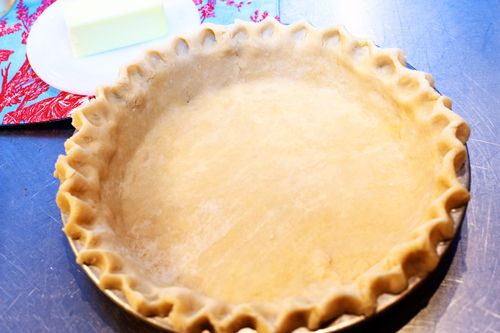
And don’t laugh at my pie crust. Charlie helped me with the edges. His paws are a little awkward.
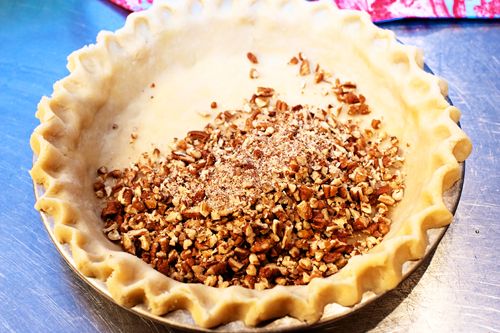
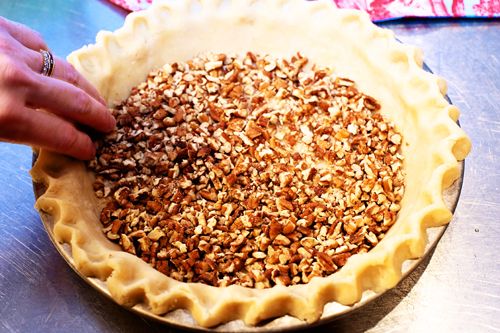
Dump the chopped pecans right into the bottom of the pie shell.
Spread them out into a flat layer…
(Now comes the fun part.)
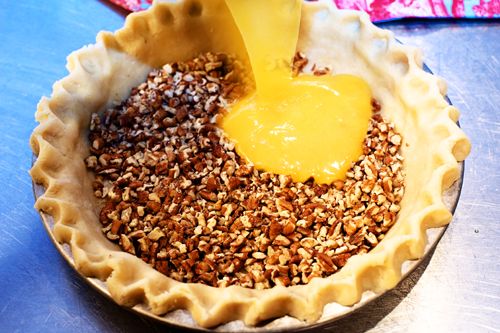
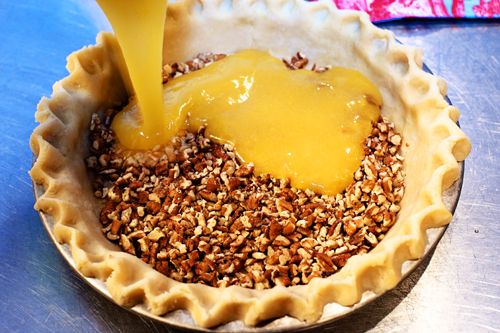
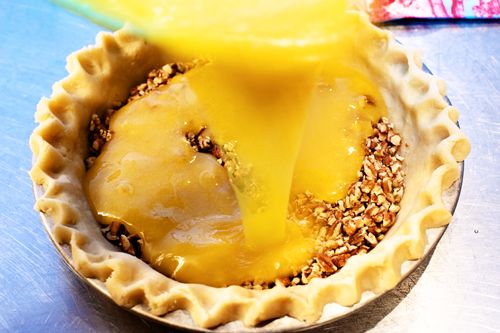
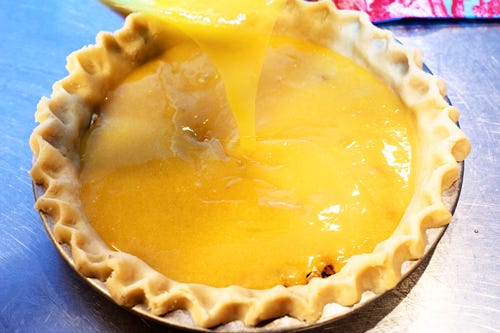
Next, just pour the corn syrup/egg mixture slowly over the top.
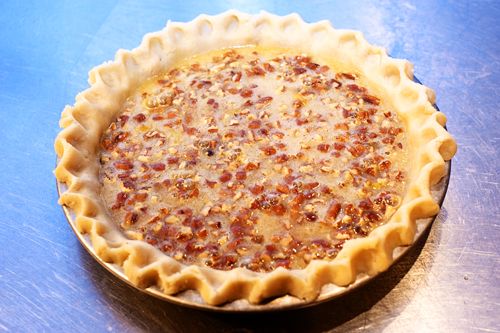
And once you get all the mixture poured in, take a long, hard look at the pie. Because once it’s baked it really won’t look a thing like this. Like, pretty much nothing like it at all.
But that’s okay! Life is all about change, isn’t it?
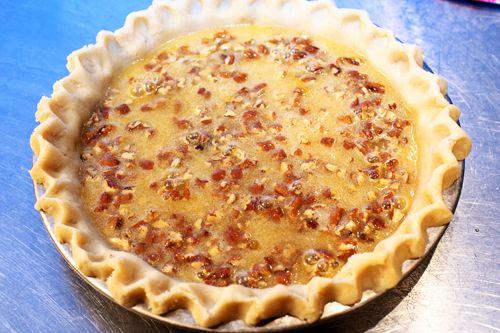
Look! Within ten seconds, the pecan bits began floating to the top.
(You want that to happen, by the way.)
Now, just carefully carry it to the oven and bake it at 350 for about 50 minutes. And check on it halfway though; if the outer crust of the pie appears to be browning too soon, gently wrap some foil around the edge.
I keep the edge pretty thick, though, so I usually don’t take that step. Especially at 350 degrees, the rim of the crust won’t burn too easily.
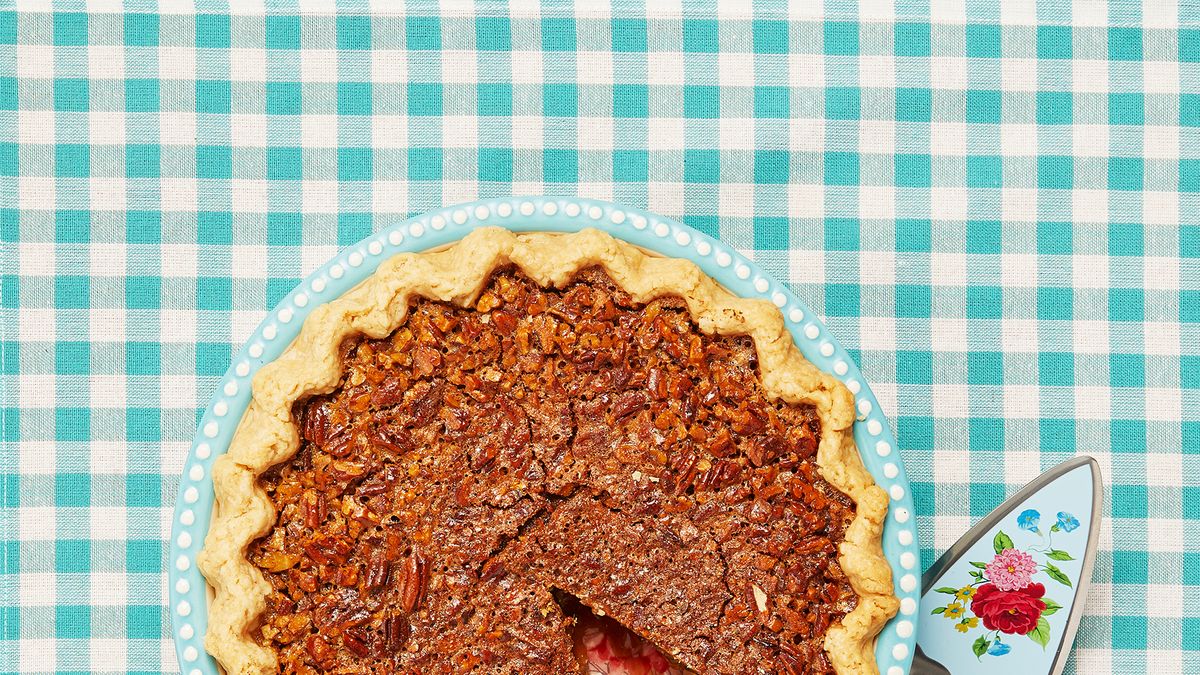
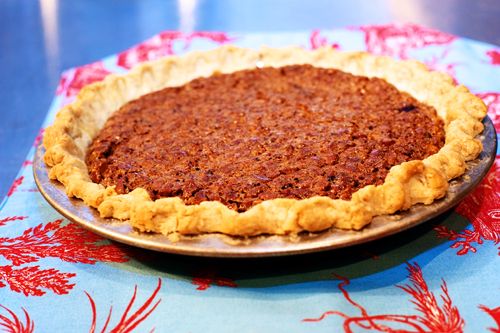
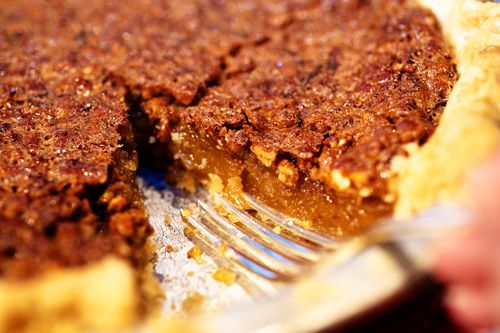
Yo. Here’s the pie. When you pull it out of the oven, it should be only slightly jiggly. If it’s overly jiggly, keep it in the oven for a little while longer. BUT…be careful not to burn the pecans. Seriously, they can burn if you turn your back for five seconds.
Do you notice how the small pecan pieces have settled at the top and created a nice “top crust?” This is why I use chopped pecans instead of pecan halves, like many people use. The pecan halves are just too heavy, too meaty, too..too much. If you use pecan bits, it creates more of a consistent top layer that makes a nice “crunch” sound when you slice into it.
Another VERY important step: after baking, you must allow the pie to cool to room temperature. Although it can be served warm, pecan pie is best when it’s completely set. Very often, I’ll make my pecan pie the night before Thanksgiving; by the next day, it’s perfect. The only hard part is keeping my fork out of the pan until guests arrive.
But guess what? It’s only November 16th. Guests won’t be arriving for well over a week. This pie isn’t for Thanksgiving. It’s for you.
I just love having this website.
