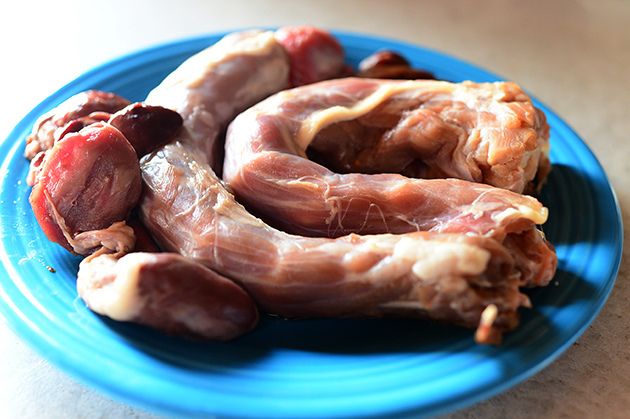
First of all (speaking of grody), you need to boil the neck and giblets, also known as the bizarre stuff you find in the bag inside the raw turkey. I always take them out of the turkey and rinse them, then store them in a Ziploc bag in the fridge overnight (because I’m brining the turkey overnight, and I remove the interior bag first.)
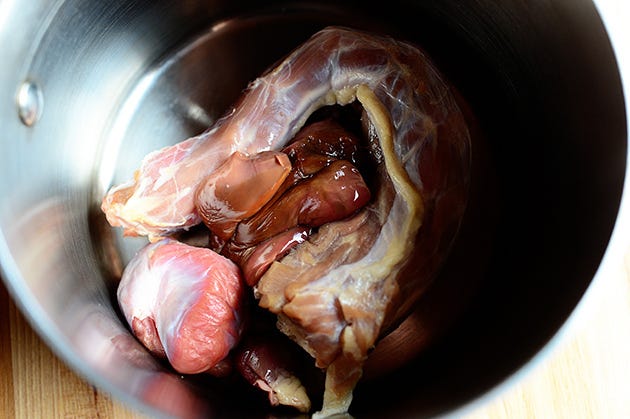
So while the turkey is roasting the next day, place the neck and giblets into a medium saucepan, cover it with water by about 2 inches, and bring it to a boil. After it boils, reduce the heat to a strong simmer and cook them for about 45 minutes to 1 hour, until the meat is totally cooked through.
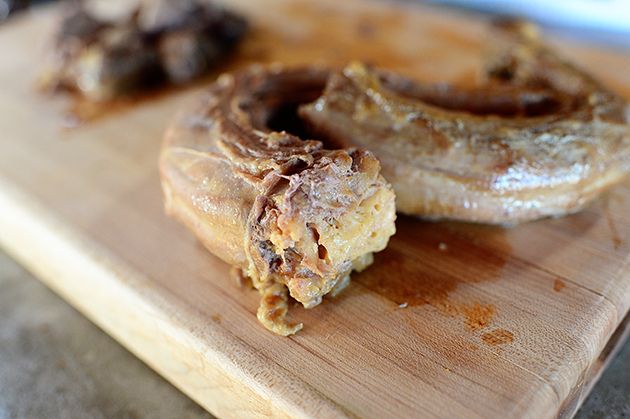
Remove the neck and giblets from the water (but keep the water on standby; you’ll need it later!) and when they’re cool enough to handle…
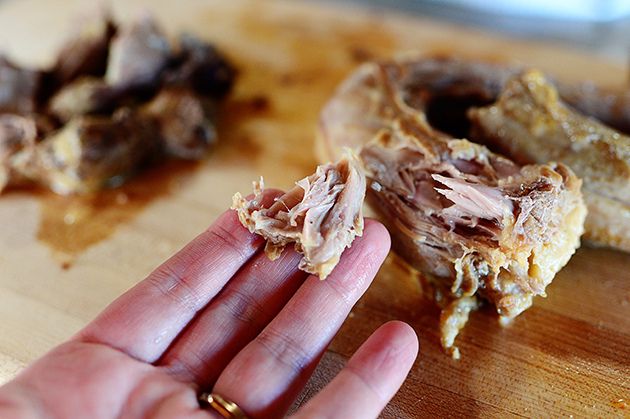
Use your fingers to pick off as much of the neck meat as you can, trying very hard not to think about the phrase “neck meat” while you’re doing this.
This is good stuff! And it’s luscious in the gravy, baby.
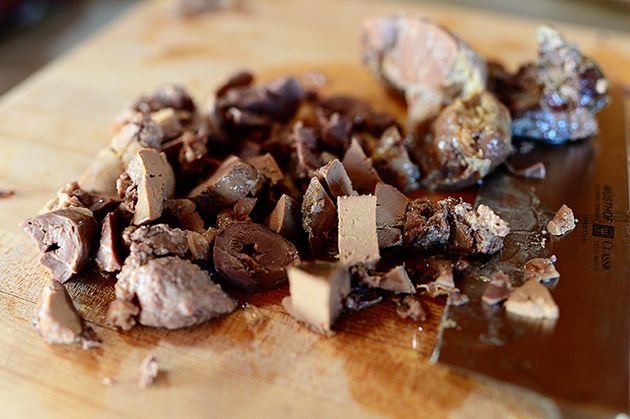
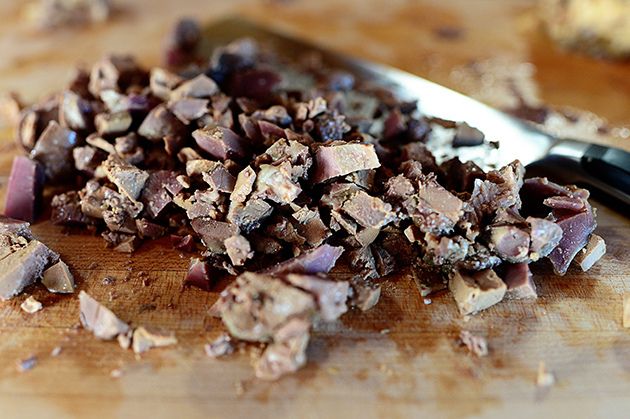
You also need to chop up the giblets, which are my favorite part of the gravy.
I like them diced pretty finely, though, as the flavor is pretty durn strong.
Now just set all the neck and giblet meat aside while you make the gravy!
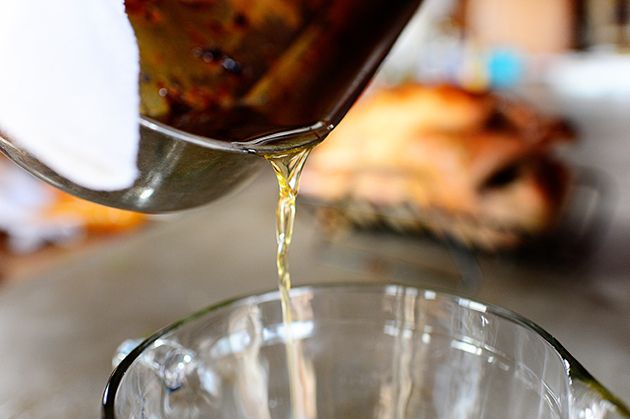
Now, after you remove the turkey from the oven and remove the turkey from the roasting pan, carefully (don’t burn yourself!) pour all the drippings from the pan into a large heatproof pitcher. (Set the roasting pan aside, but don’t wash it!) Let the liquid sit undisturbed for a bit, long enough for the fat to separate from the drippings.
The separation will be obvious: The fat rises to the top, and it’s a thick, greasy liquid. The drippings stay at the bottom, and they’re more of a cloudy liquid filled with little bits.
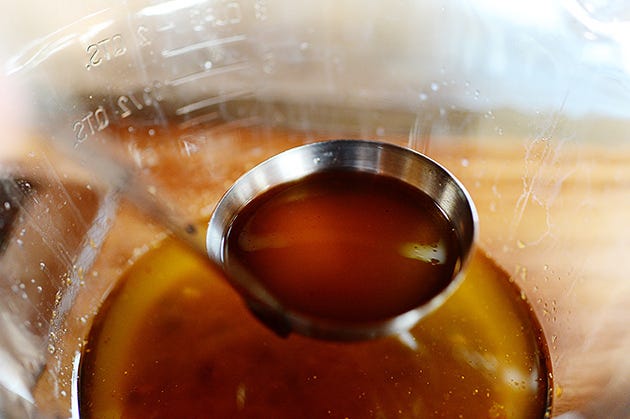
After the two are totally separated, use a ladle to carefully skim off the fat and transfer it to a separate bowl. Just lower the ladle straight down and slowly allow the fat to spill over the sides and into the well. (You can also use a fancy fat separator…I just don’t have one of those.)
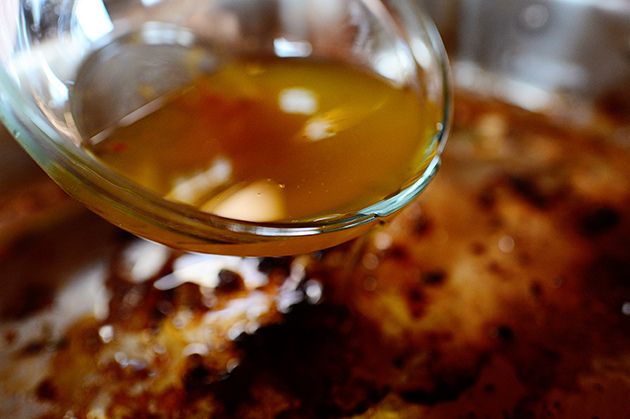
Now, when you’re ready to make the gravy, set the roasting pan over the stove (I usually straddle it over two burners) and turn on the heat to medium. Pour in some of the fat (how much you add depends on how much gravy you want to make.)
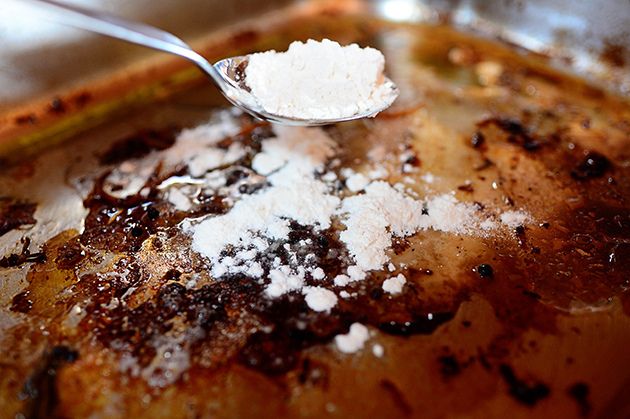
When the fat is heated, sprinkle in some flour. Again, how much you add depends on how much gravy you want to make!
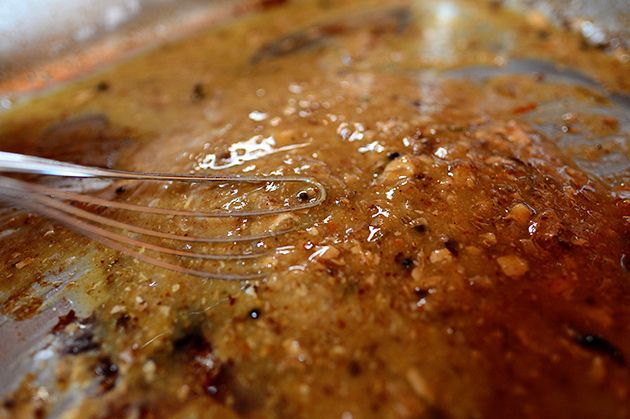
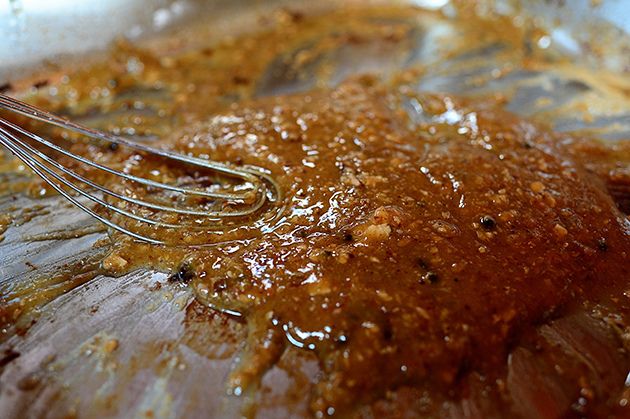
Whisk it all together and check the consistency: Basically, you want to make a nice paste. If it seems overly greasy, whisk in a little more flour until it looks right. If it seems too thick and it’s hard to stir, drizzle in a little more fat.
When the consistency is right, you then need to take the time to cook the roux so it gets nice and brown! Just whisk it constantly as it cooks, and when the color looks nice and deep golden brown…
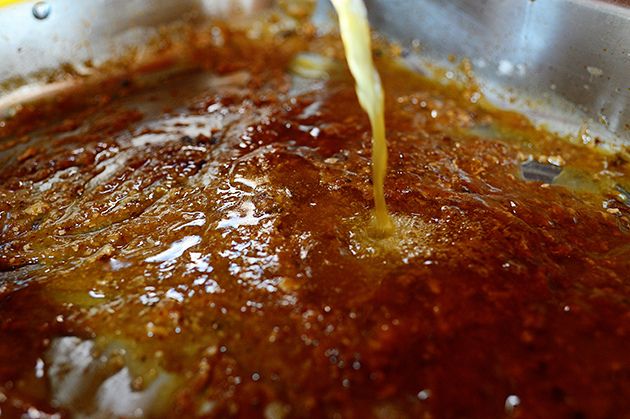
Pour in a good amount of low-sodium broth: You can use chicken, turkey, or vegetable—whatever makes your skirt fly up. After that, pour in half the reserved turkey drippings (you can always add the rest later if the gravy needs it.)
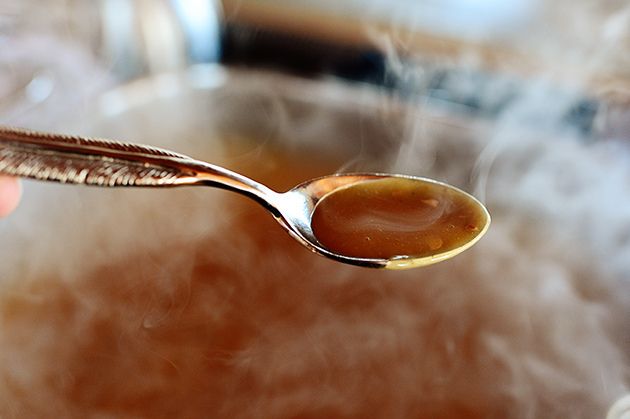
Whisk in the broth and cook it for long enough for the gravy to get nice and thick; this can take from 5 to 10 minutes (or more, depending on how much volume you’re talking about) so just be patient and keep on whiskin’!
If the gravy isn’t thick enough, keep cooking it until it thickens. If it gets too thick, you can always thin it with some of the giblet broth.
So while I’m at it, let me give you the breakdown so we have it straight:
Fat = the grease that separates from the drippings. This is combined with flour in the roasting pan to make the roux.
Drippings = the cloudy, messy liquid that separates from the fat. This is added to the roux along with the broth to make the gravy more flavorful.
Broth = I usually use storebought, either turkey, chicken, or vegetable. This is added to the roux to make the gravy. Always use low-sodium (or, even better, no-sodium broth) to control the saltiness of the gravy.
Giblet broth = the liquid left in the saucepan after you boil the neck and giblets. This is used to thin the broth if it gets too thick.
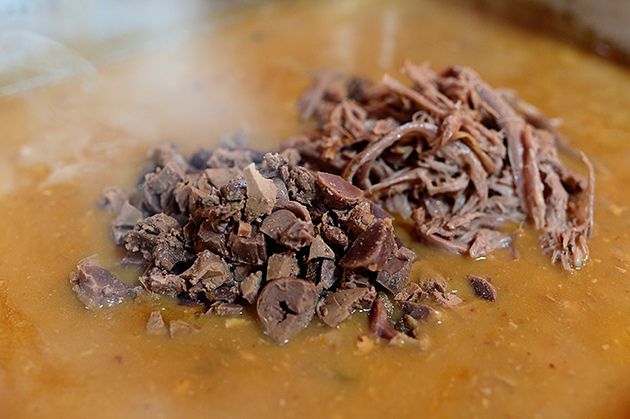
The very last thing to do is to add the shredded/chopped neck/giblets to the gravy…
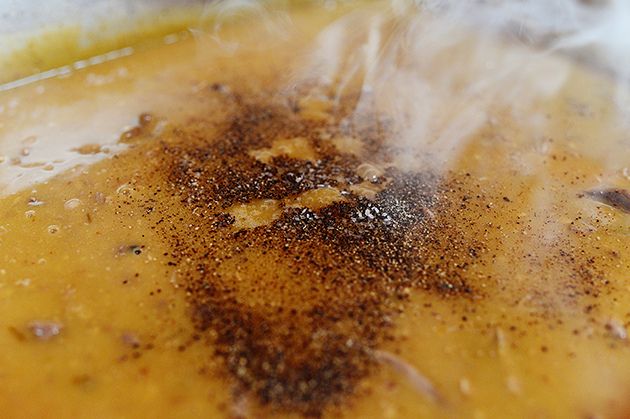
Along with (after you taste it) salt and pepper. Note that if you brined the turkey, you likely won’t need much salt at all! So always, always, always taste the gravy before adding any salt.
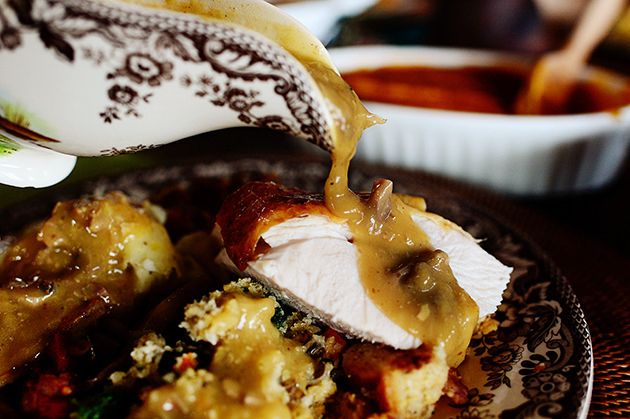
Mmmm. GRAVY!
Sorry to shout. I just can’t control myself.
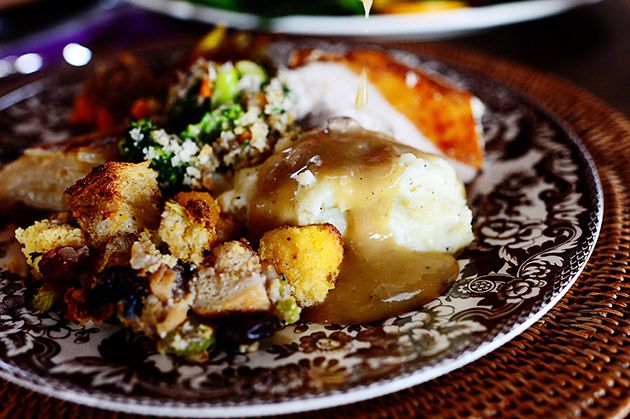
Ahh. There’s nothing better in the world.
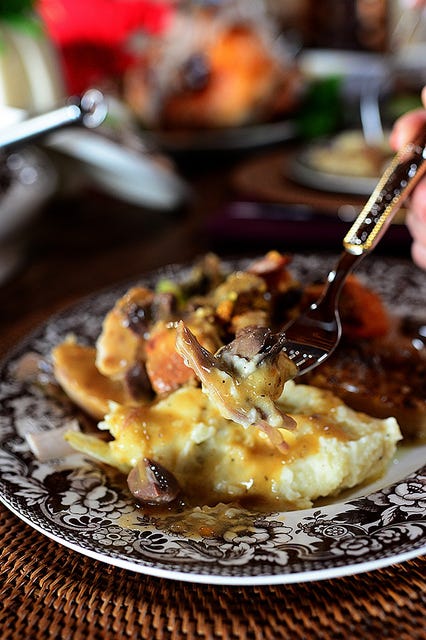
Enjoy every single bite!
