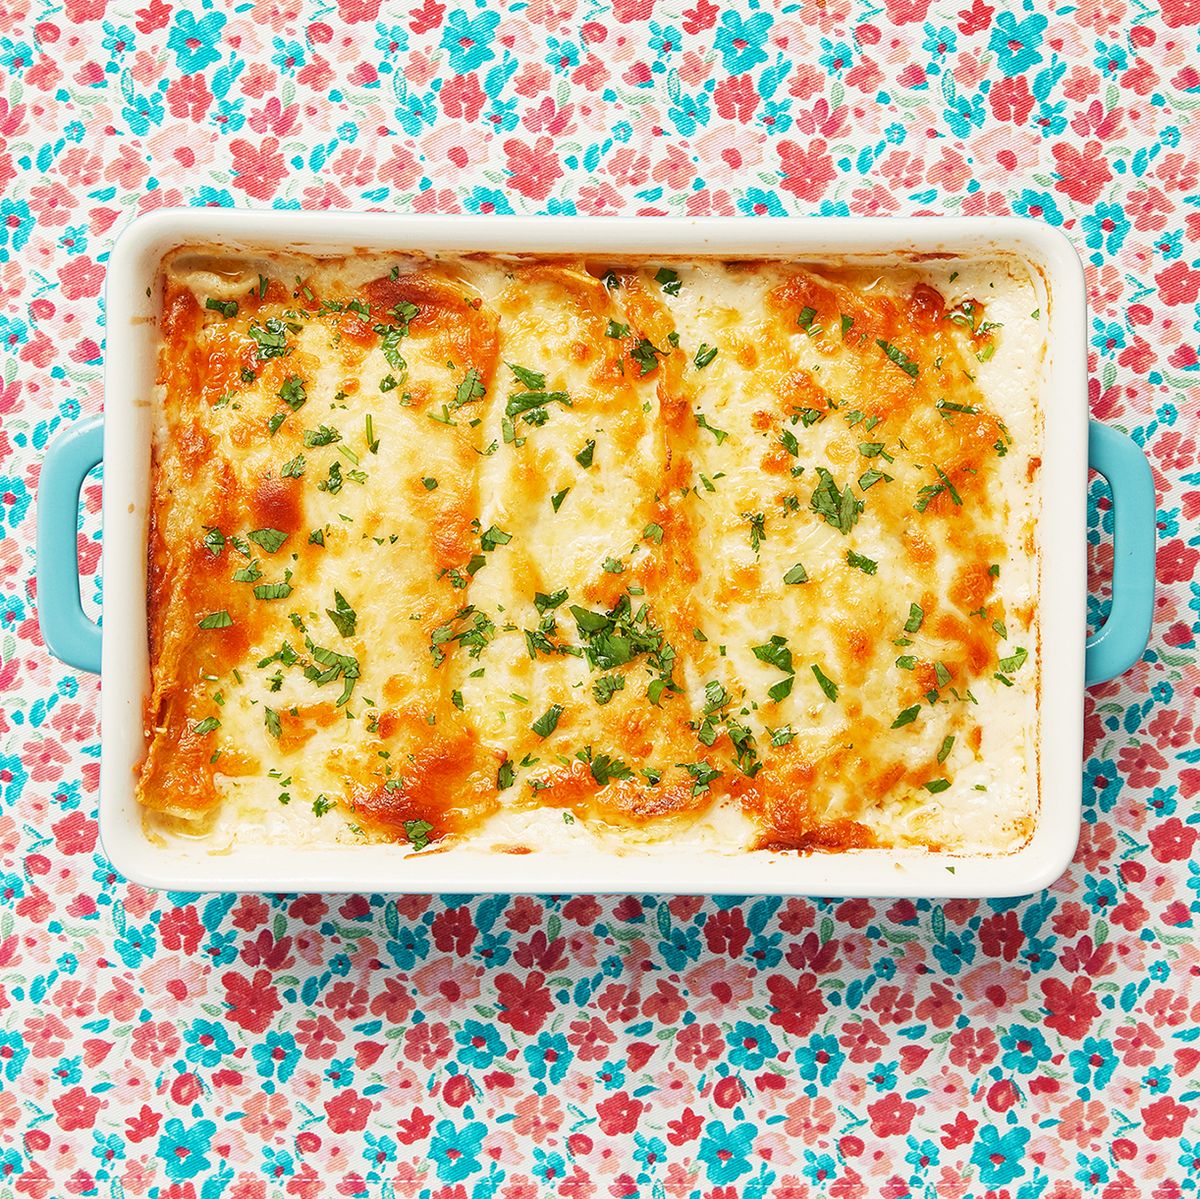
I’m happy to share my method for making creamy, dreamy, delicious, nutritious, yummy, nummy white chicken enchiladas.
Don’t be intimidated by the multiple steps. They’re numerous, but they ain’t difficult.
The first thing we’re going to do is cook some chicken. Please do not be afraid, my darlings. There’s nothing inherently scary about raw chicken. I hate to be gross, but… you and I are raw, too, if you really hunker down and think about it.
Gosh, am I ever sorry I just typed that.
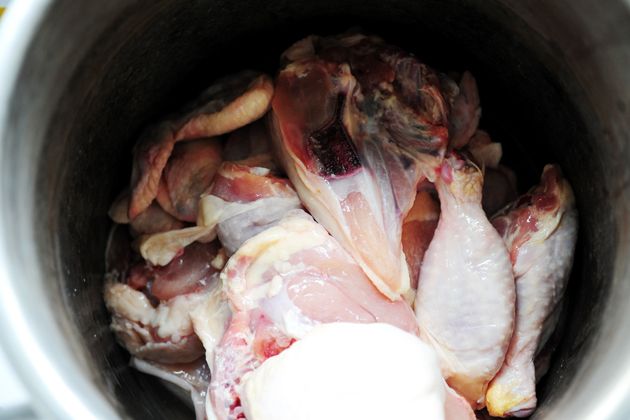
Anyway, back to business: I buy a whole cut up fryer—basically a whole chicken that’s been cut up by the butcher. It’s best if he does the dirty work.
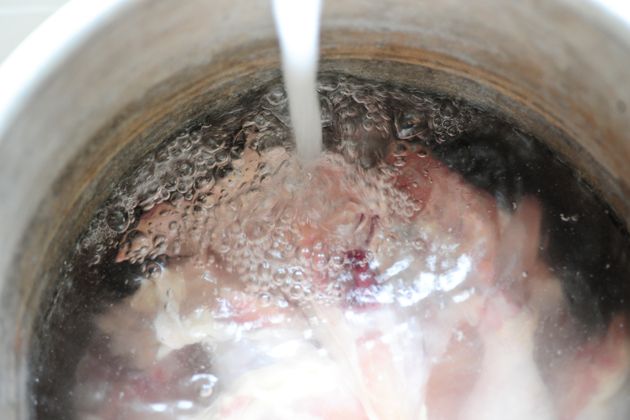
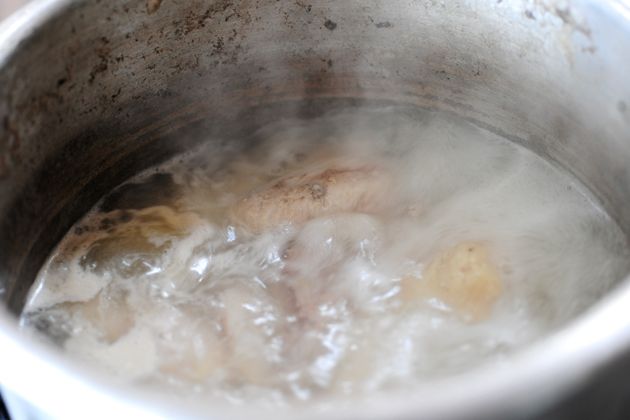
Rinse the chicken (Sorry, but I can’t not rinse chicken. I’m old school.) and throw it into a big pot.
Cover the chicken with water.
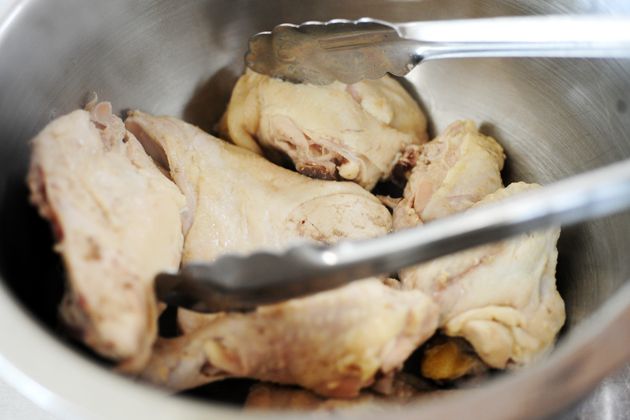
Bring it to a boil, then reduce the heat to low and simmer for about 30 minutes or so.
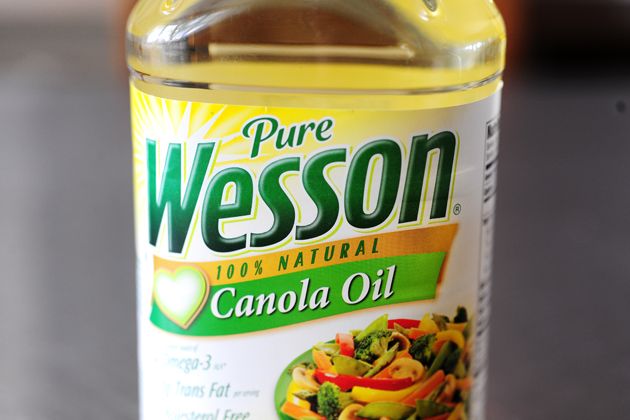
While the chicken is cooking, grab some canola oil.
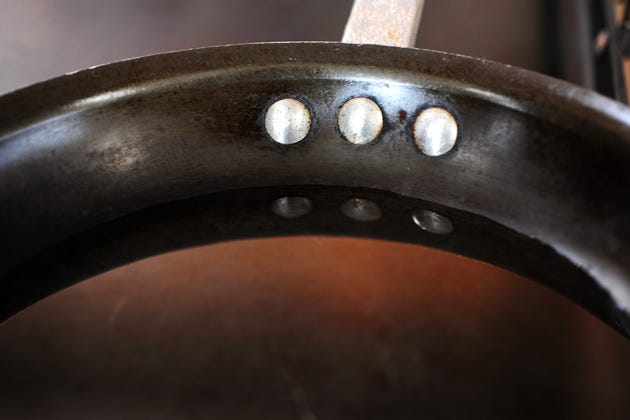
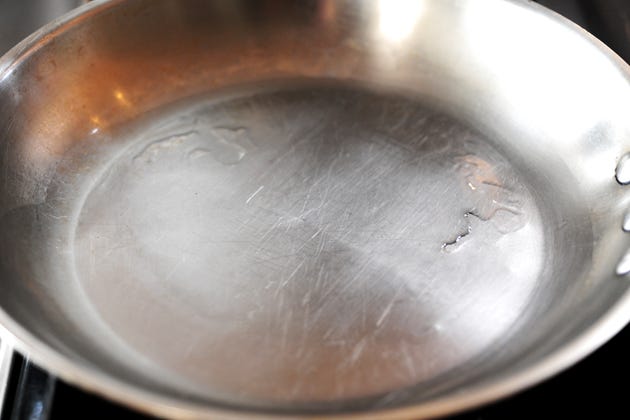
Pour a half inch or so in a small skillet. Heat the oil over medium heat, and make sure if you have little punks running around, you either do this on the backburner or keep the handle turned so that they can’t grab it.
That’s just one thing that crawled in my consciousness when my first punk was a baby. When you cook with oil as much as I do, you tend to have these thoughts.
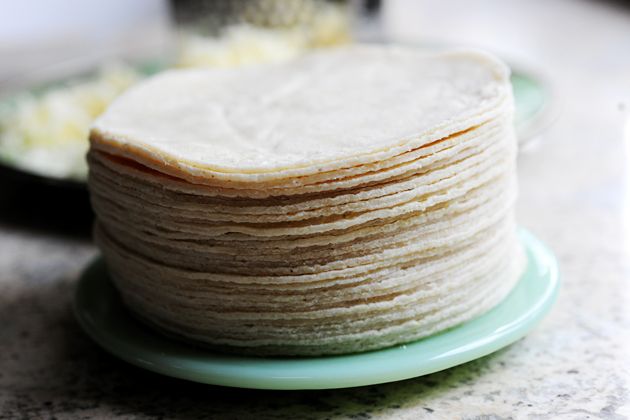
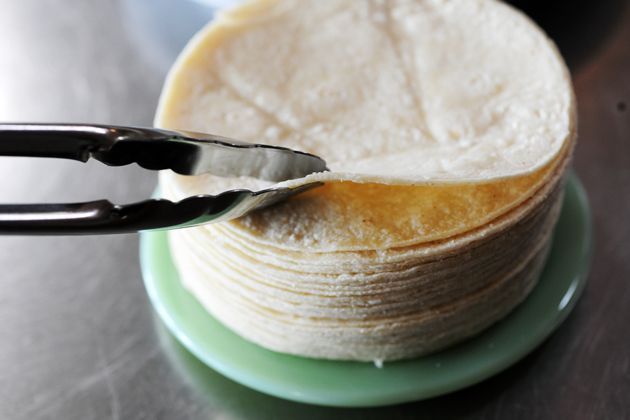
Grab some white corn tortillas. You can certainly use flour tortillas like a lot of white chicken enchilada recipes do, but I prefer the texture and flavor of corn.
I don’t know…they just seem less pasty. But that’s my issue, not yours, so please just use what makes you happy. (Note: if you use flour tortillas, skip this frying step and just warm them instead.)
One by one, when the oil is heated, grab a tortilla…
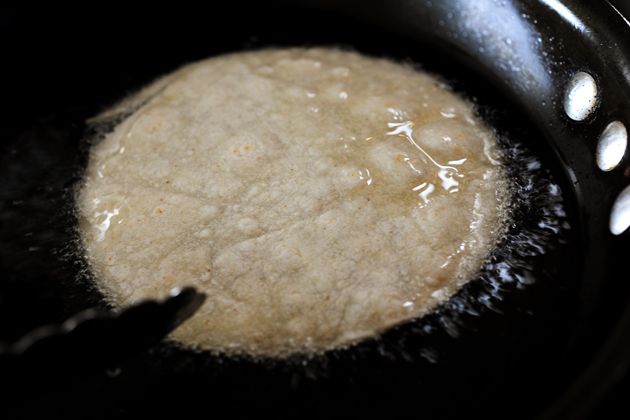
And briefly fry it in oil on both sides. You don’t want the tortillas to get the least bit crisp, so expect to turn them after about 5 to 10 seconds or so. Maximum fry time per tortilla: 15 to 20 seconds.
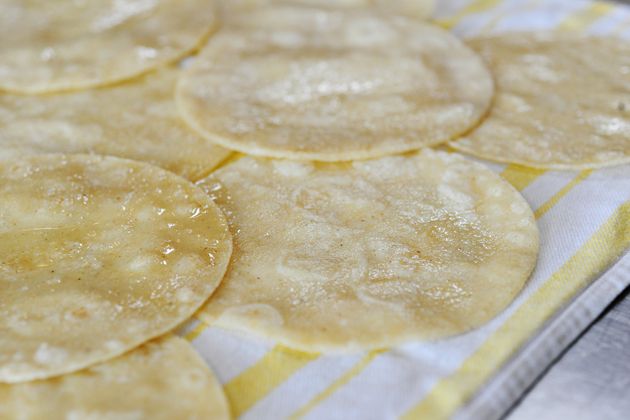
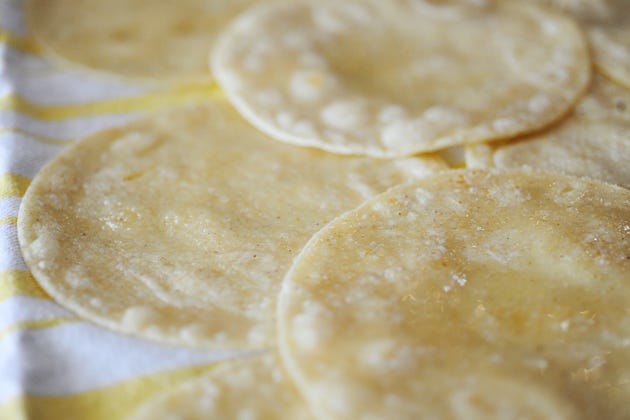
After you fry them, place each tortilla on a kitchen towel (or stack of paper towels) to drain the oil.
Cover with a second dish towel and set aside.
And guess what? You don’t have to fry the tortillas if you don’t want to. You can just nuke ’em for about 30 seconds or so to soften them.
Just giving you options here.
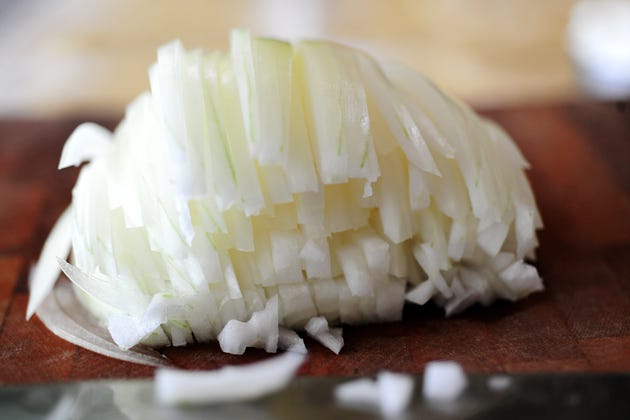
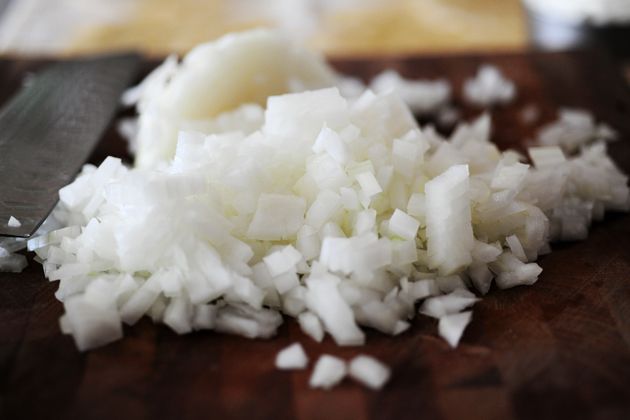
Next, dice up a good amount of onion…
I won’t show you how to do it today. I will let your eyes, your psyche, and your sanity rest.
But I can’t promise I won’t show you tomorrow.
It’s basically inches away from becoming an involuntary thing at this point.
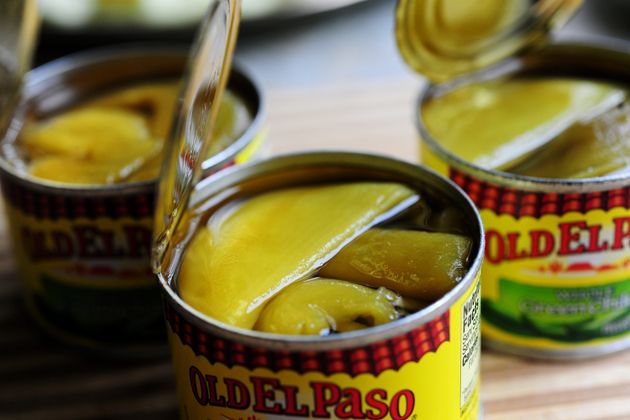
Now we need some roasted green chilies. If you have some fresh ones, great. If you have bags of the good frozen ones, fabulous. If you have Hatch in the can…congrats!
If you don’t…then just use what you can get your mitts on. These are fine!
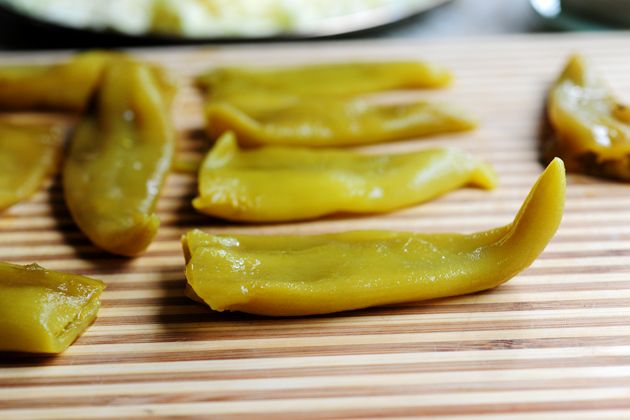
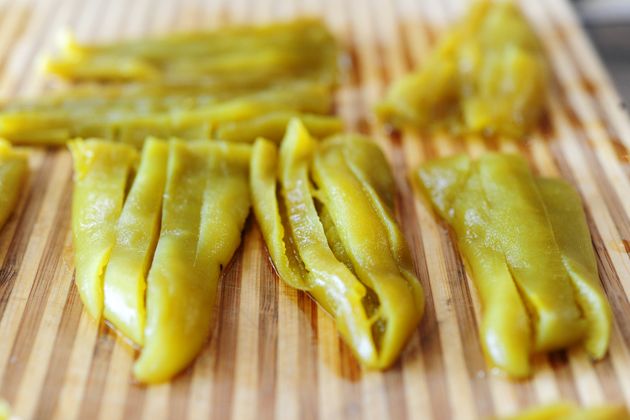
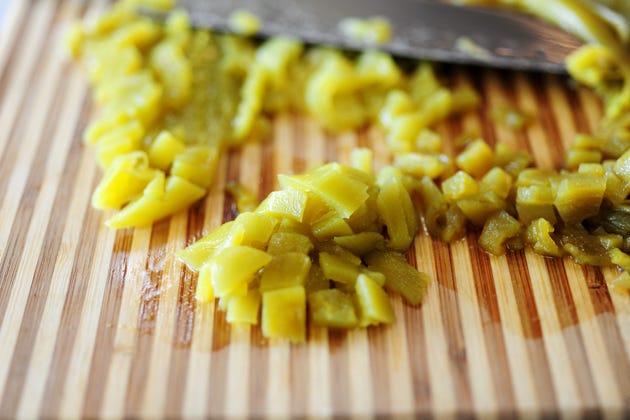
You can buy them diced…or you can fool yourself into thinking you’re working hard and just dice ’em yourself.
I choose the latter.
Cut ’em into strips…
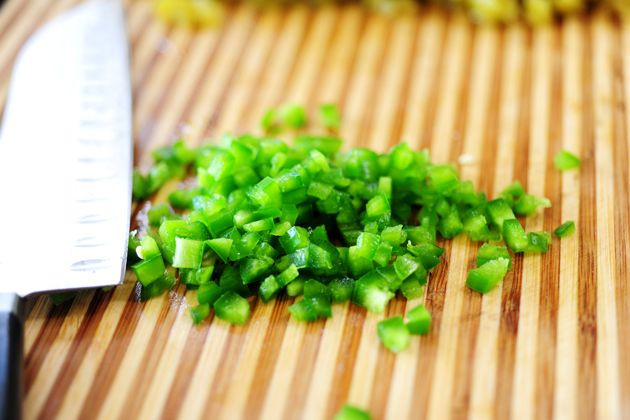
Then dice away!
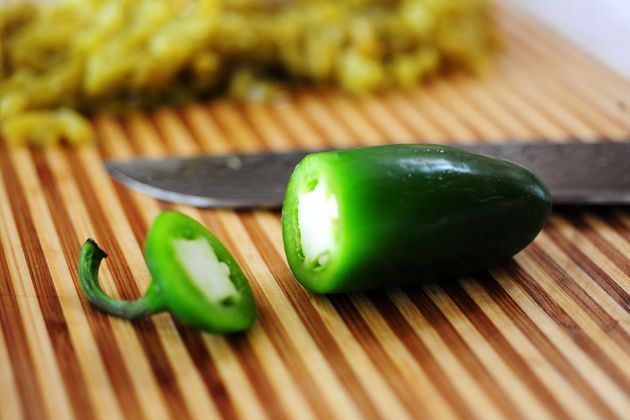
You can stop there, but I had this jalapeno in my fridge.
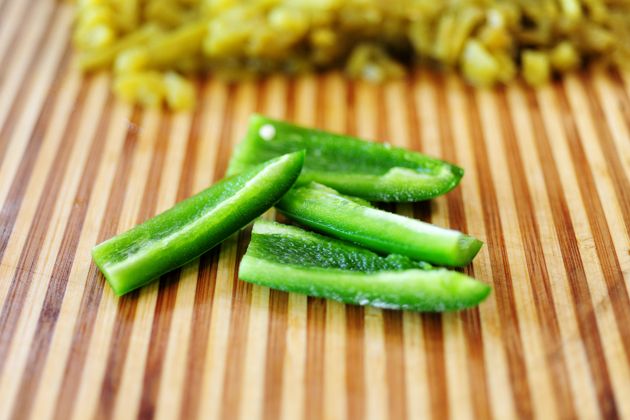
And when I have a jalapeno in my fridge, I can’t help myself. I have to seed it, cut it into strips…
And dice it.
My parents tried to get me help when I was a teenager, but nothing worked.
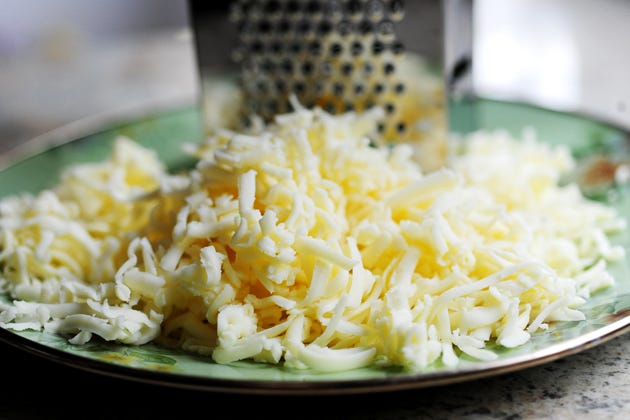
Finally, grate a whole bunch of cheese. Monterey Jack, Pepper Jack…or a mix of white cheeses. You pick.
Hey…guess what? The chicken’s done!
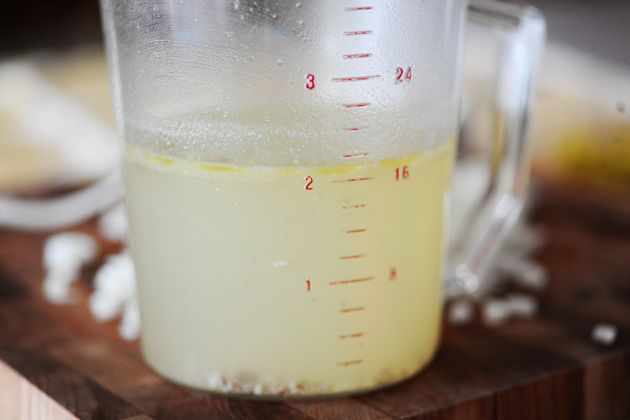
Reserve about 2 cups of the broth. You can keep the rest, then throw in the bones after we get the meat off the chicken and make a large quantity of stock.
But we won’t worry about that today.
Today…is for enchiladas.
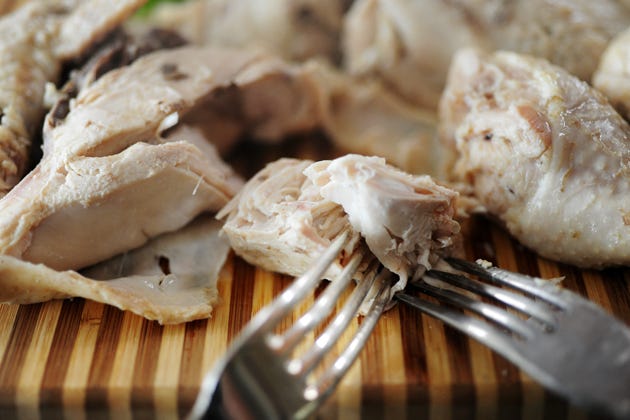
With two forks, start pulling the chicken off the bones. You can do it by hand if the chicken has been allowed to cool for awhile…but if you’re an impatient freakazoid like me, go ahead and use forks.
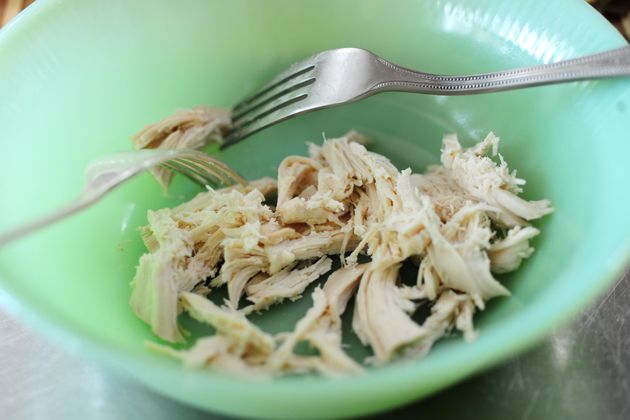
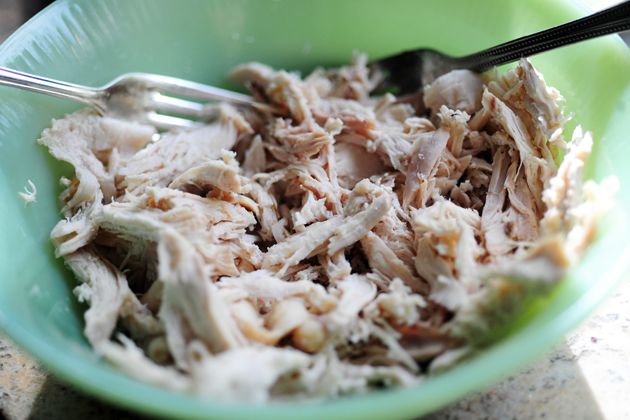
As you pull the meat off the bone, shred the chicken and place it into a bowl.
Keep going until you have about 2 to 2 1/2 cups of shredded chicken.
(Go ahead and freeze the rest for another use.)
Heat some canola oil (about a tablespoon) in a large skillet over medium-high heat.
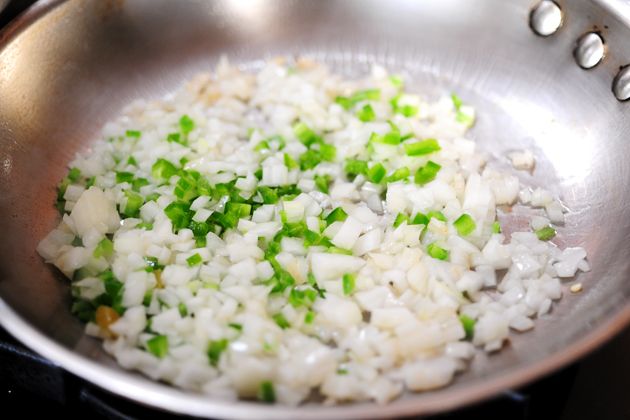
Throw in the onions and jalapenos, if you’re using them. Toss them around a couple of times. We don’t want to cook the heck out of them—just awaken them and take away that raw onion edge.
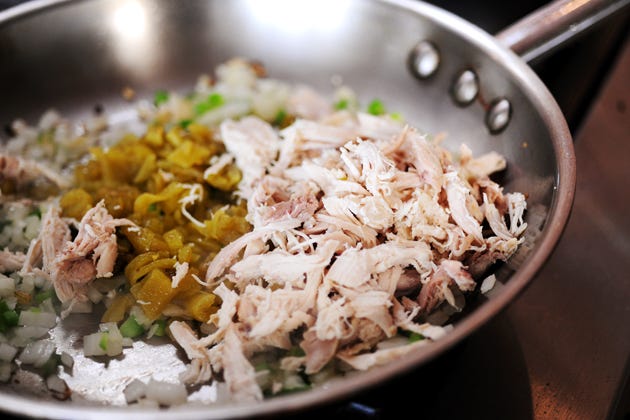
After about a minute, throw in the chicken and the chilies.
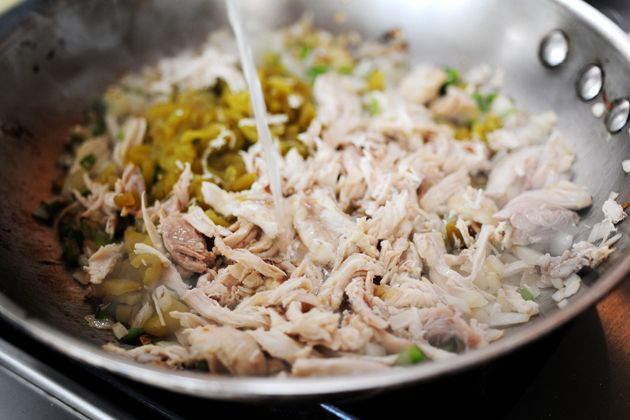
Pour in about 1/2 cup of the reserved broth, just to moisten it up.
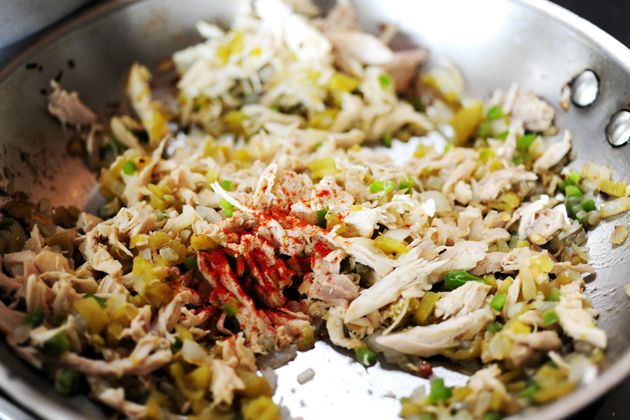
Then, both for color and a little flavor, sprinkle on some paprika. (And a little cayenne, if you need a little extra kick.)
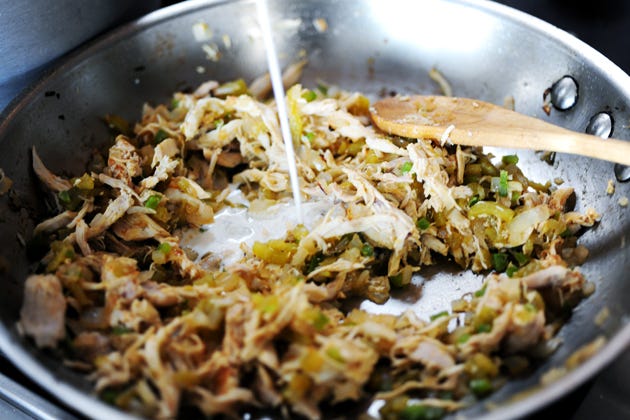
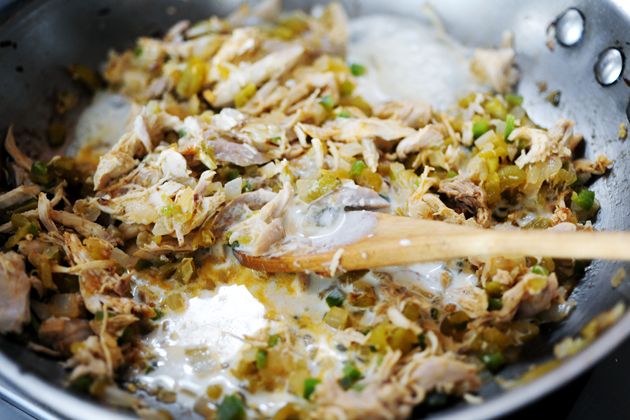
And then—and I deeply apologize to all mankind for this—drizzle in about 1/2 cup of cream.
Because you’re worth it.
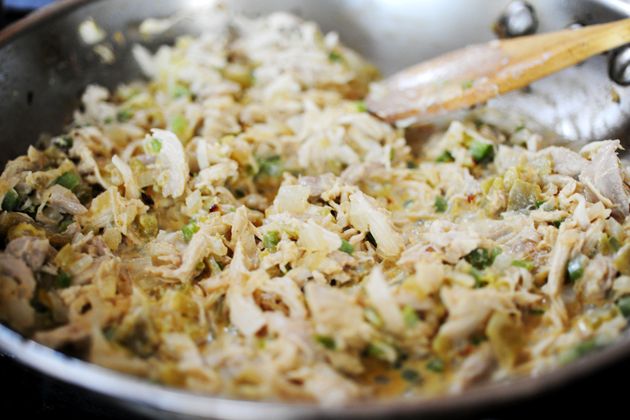
Stir it around, add salt and pepper, and make sure it’s thoroughly heated.
And that’s the yummy, flavorful chicken mixture. You can customize it however you’d like: chopped black olives, diced red pepper, even mushrooms.
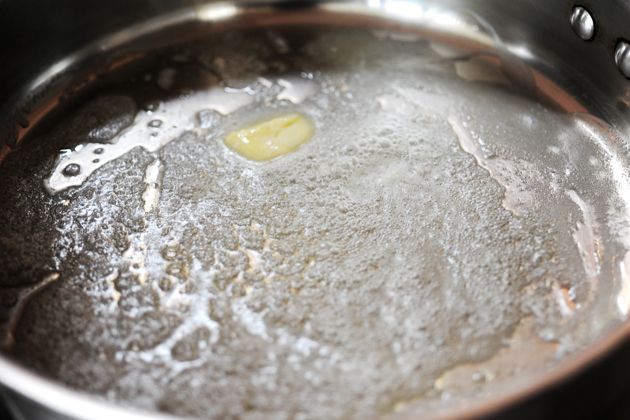
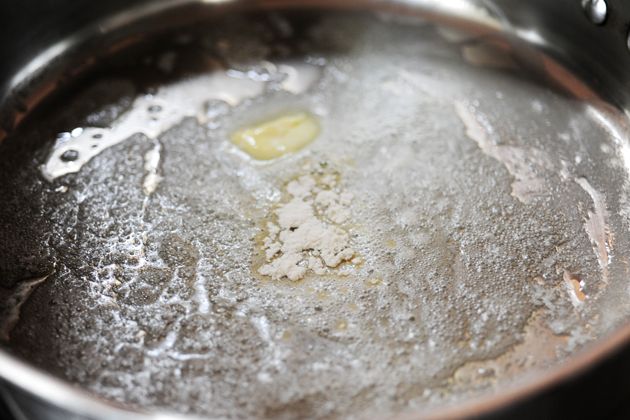
Now we need to make the white sauce. In a separate skillet (sorry), heat a couple of tablespoons of butter…
And sprinkle on an equal amount of flour.
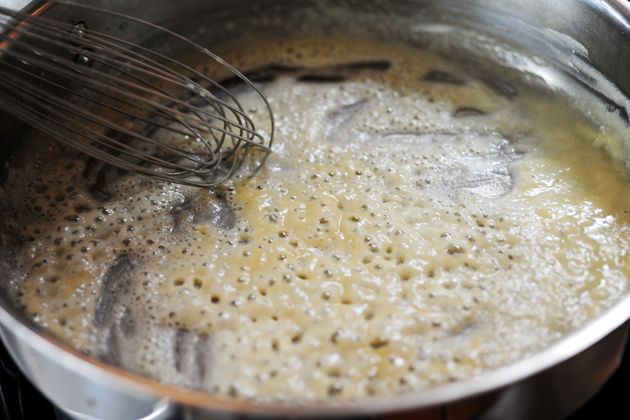
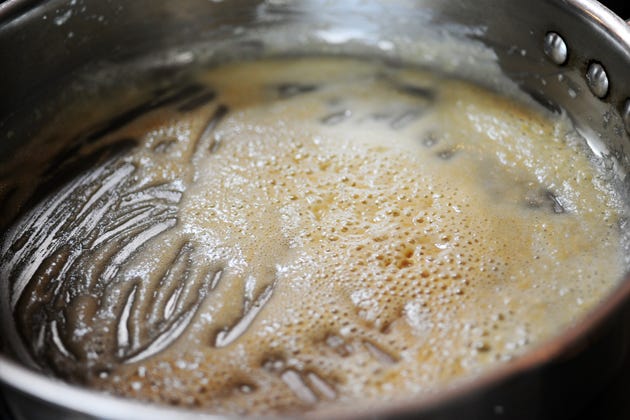
Whisk constantly for about a minute, allowing the roux to cook just a bit.
Ready!
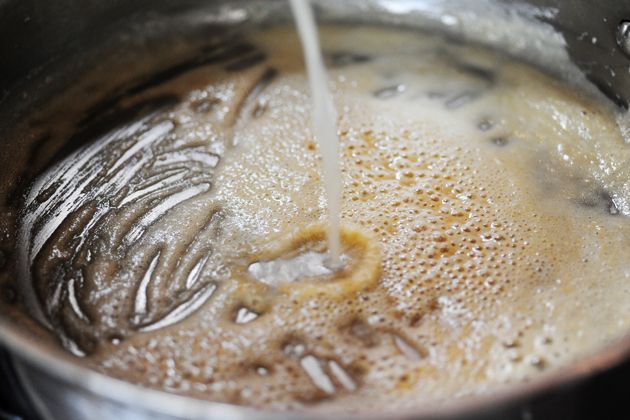
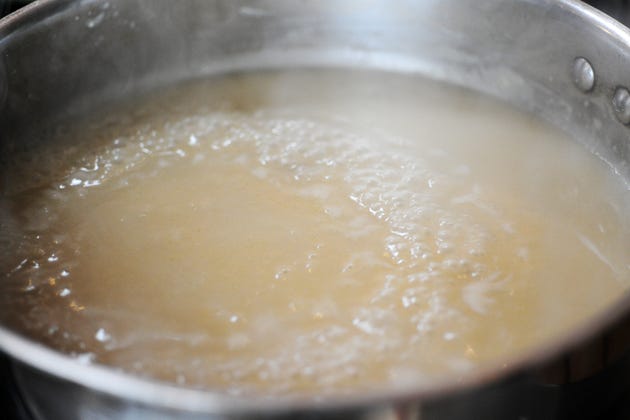
Now pour in the rest of the chicken broth.
Whisk it together, and allow it to bubble up for a minute or so.
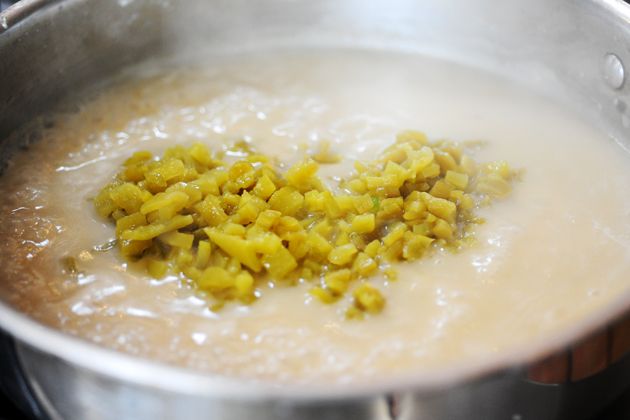
Then throw in more diced chilies and stir them in.
Then add the sour cream and stir IT in.
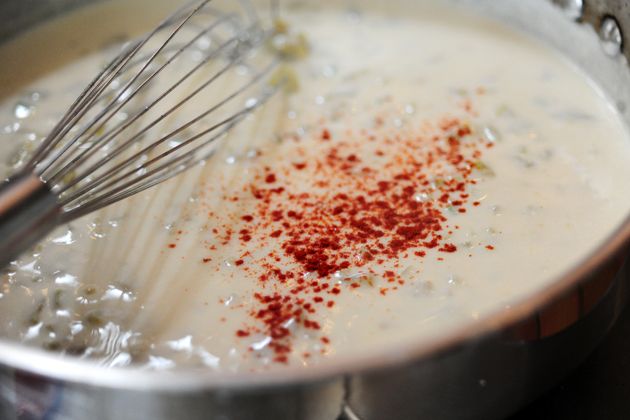
Then comes more paprika!
I don’t know why I love paprika in creamy saucy things. I like the slight pinkish (but not rosy pink; more of a red-pink) it gives the dish.
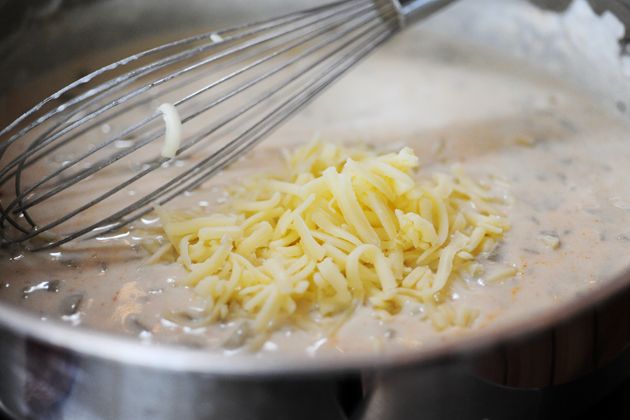
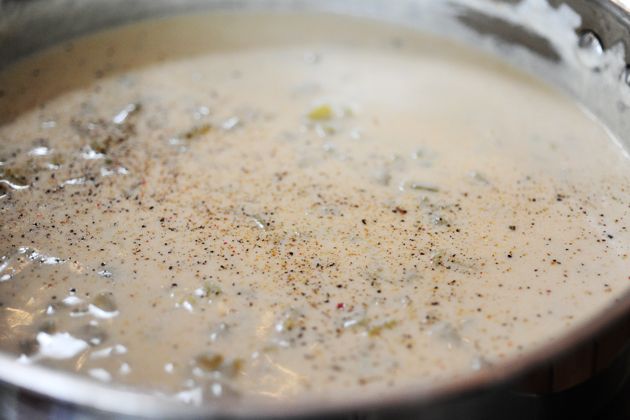
Then dump in a good amount of the Monterey Jack.
And what the heck—add some black pepper, just because you can.
Now, at long, long, long—like, 50 photos long—last, it’s time to bring all this craziness together!
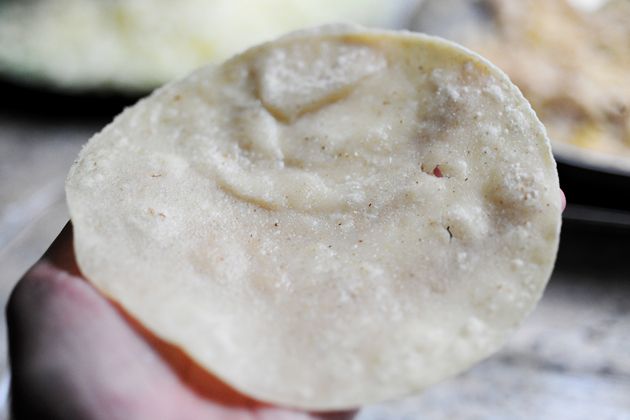
One by one, grab a warm tortilla…
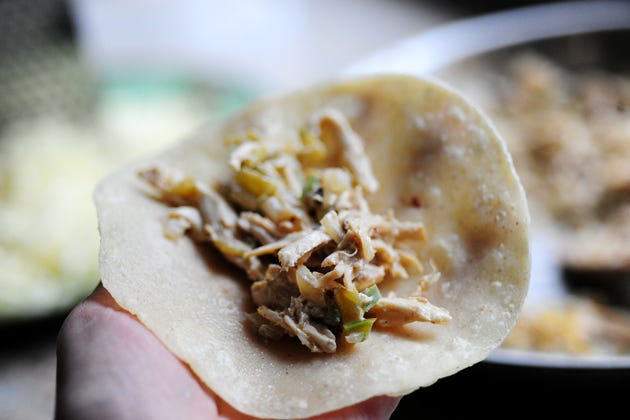
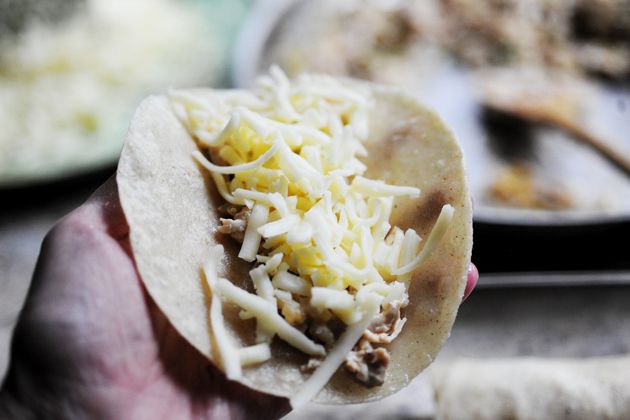
Then spoon on a good portion of the chicken mixture.
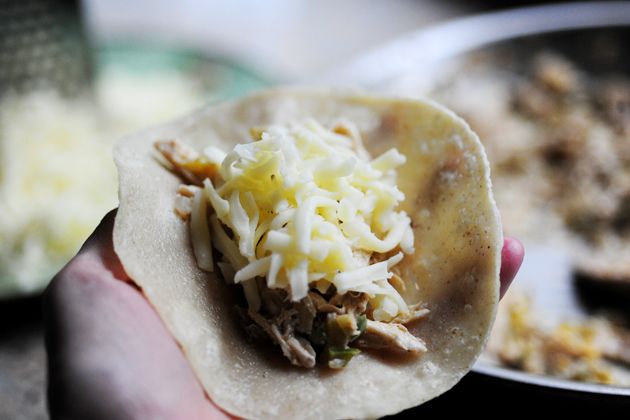
Next comes a yummy portion of cheese. Don’t skimp!
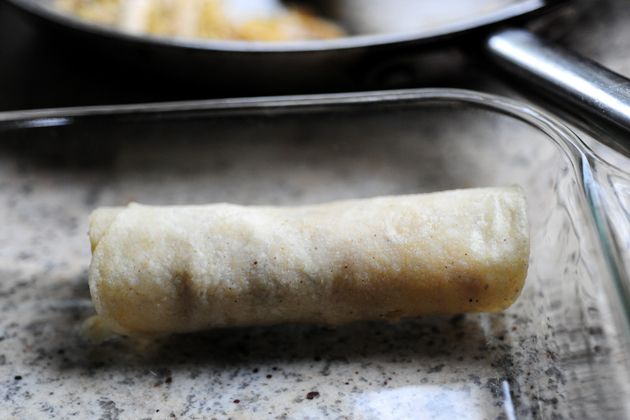
Then roll it up and place the seam side down.
Repeat this until the pan is filled with rolled up tortillas bulging with chicken and cheese…
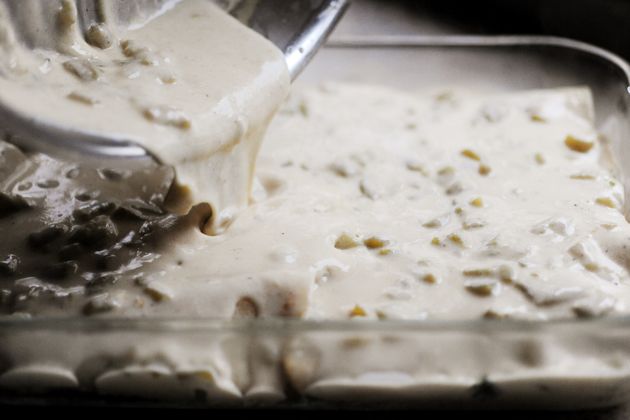
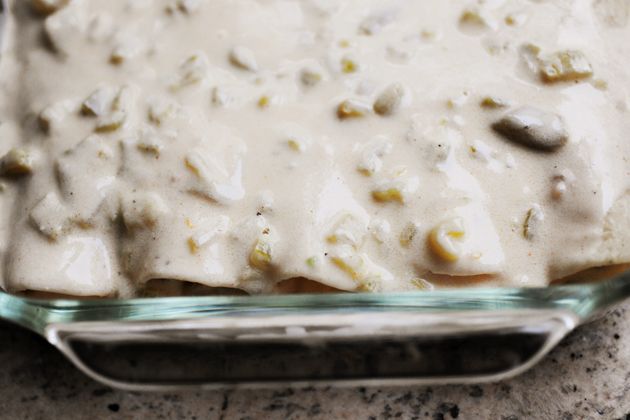
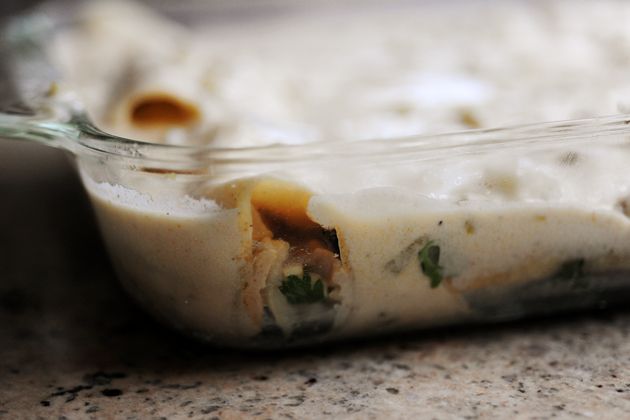
Then, yes—you guessed it—pour the creamy cheesy chili-y sauce all over the top.
I can tell you that the quality of roasted green chilies you use really determines how over-the-top delicious this is. It’s delicious with the plain canned stuff, but if you really went for it and roasted your own…well, you’d pretty much die from bliss right there on the spot.
So maybe it’s not a good idea after all.
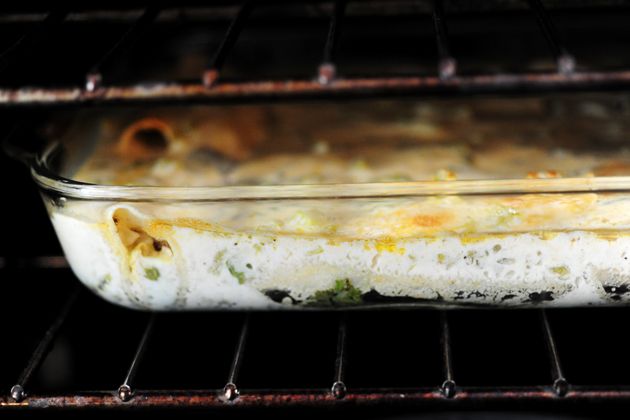
Now just pop it in the oven for 30 minutes or so.
You can sprinkle even more cheese on the top at this point…but believe me, it’s cheesy enough.
This needs about ten more minutes.
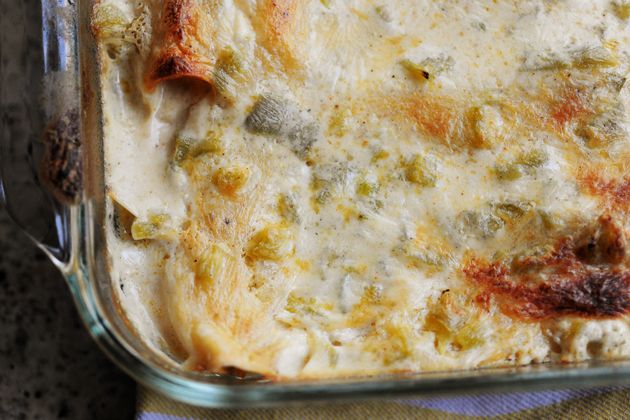
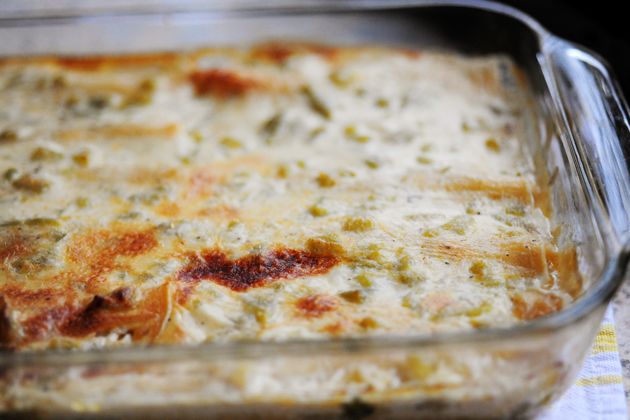
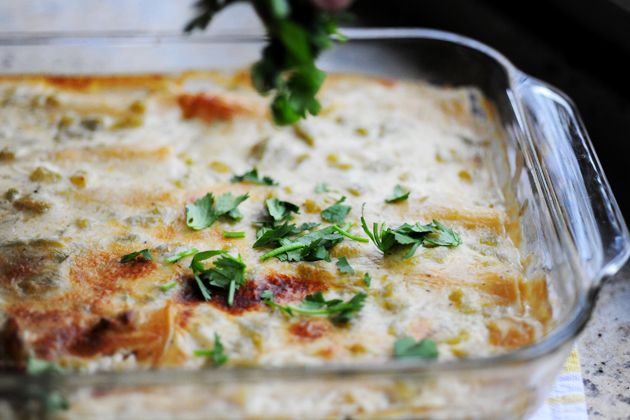
Ahhh…bingo.
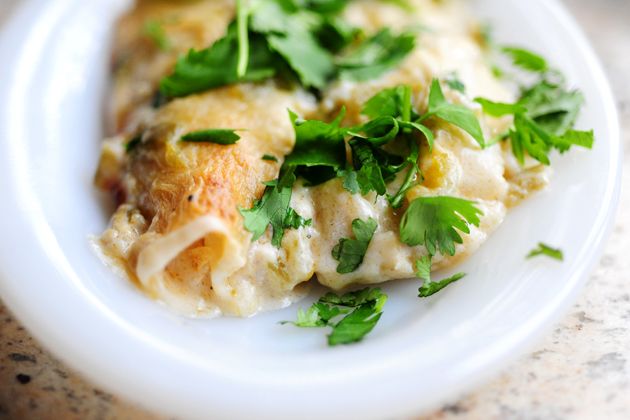
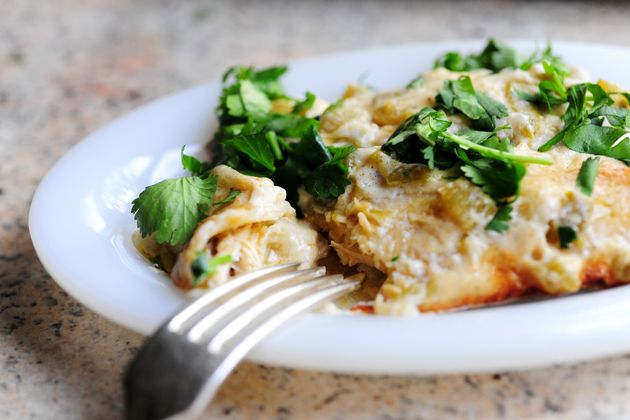
Golden. Bubbly. Crisp edges. Soft tortillas.
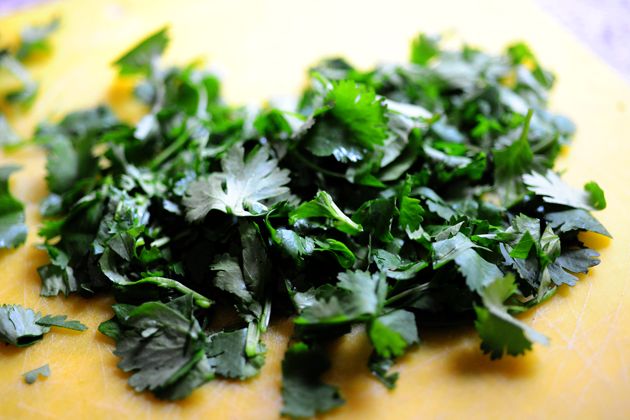
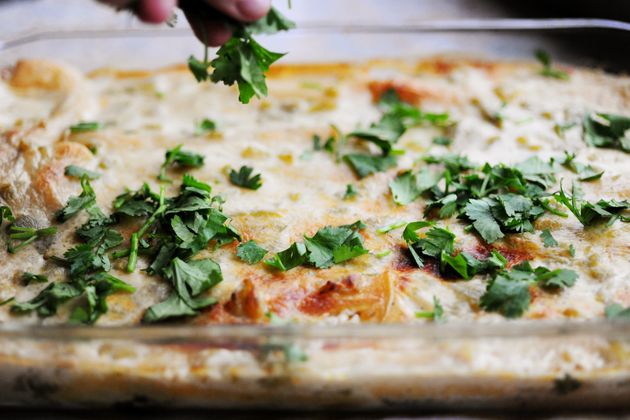
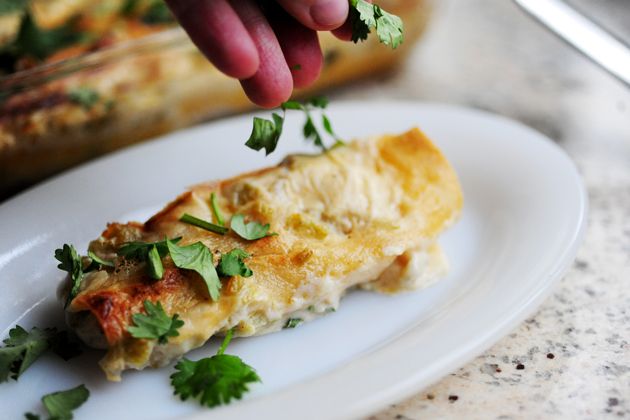
Now, for the essential finish: fresh chopped cilantro!
Sprinkle it on generously.
You know what? I’ve never been happier in my life than I am right now.
Okay, maybe you didn’t hear me. I am one happy woman.
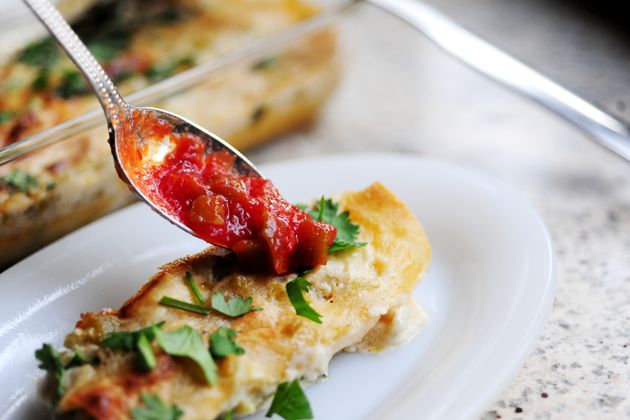
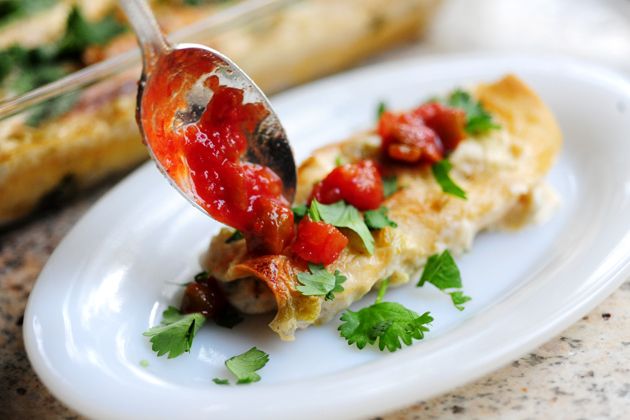
And just to let you know, if you need a little tang…
Just spoon some picante sauce over the top.
And now…your life is complete.
Oh. I almost forgot.
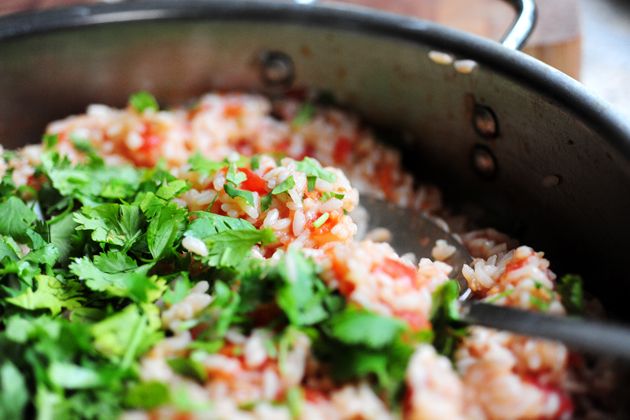
That is, it will be when you make this to go with it.
But we’ll worry about that later.
Enjoy! And here’s a great holiday tip: you can make these enchiladas with leftover Thanksgiving turkey. Absolutely divine.
Try it this year!
