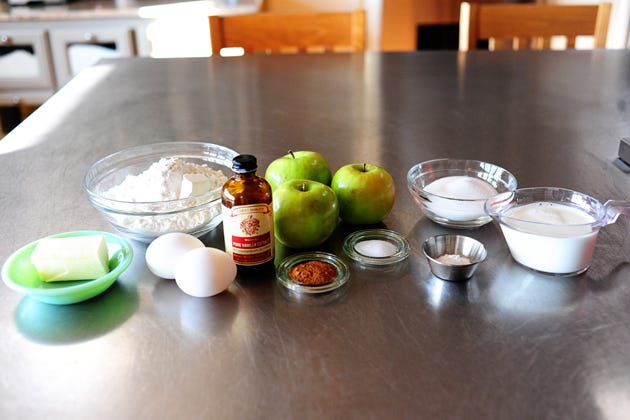
Here’s what you need: apples, flour, cinnamon, sugar, whole milk, butter, baking powder, salt, vanilla, and eggs.
Before you begin, add a couple of inches of canola oil to a pot or dutch oven, and heat it over medium to medium-low heat.
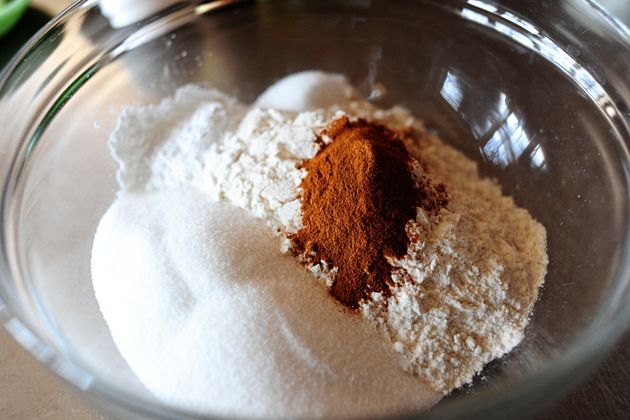
In a bowl, combine the flour, sugar, baking powder, cinnamon, and salt.
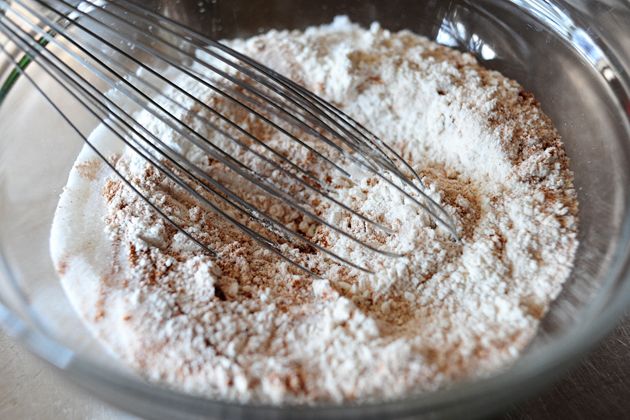
Whisk them together to combine.
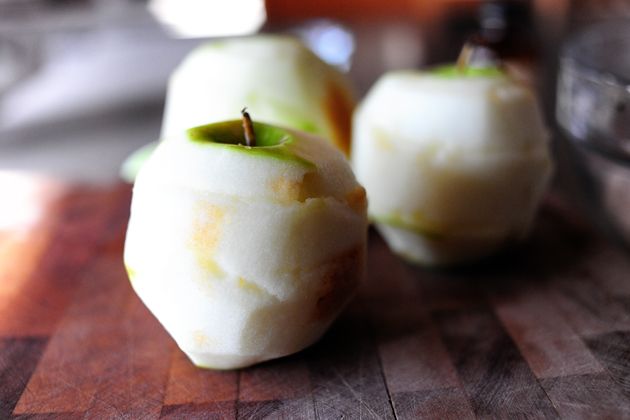
Peel two or three apples…
Then slice them…
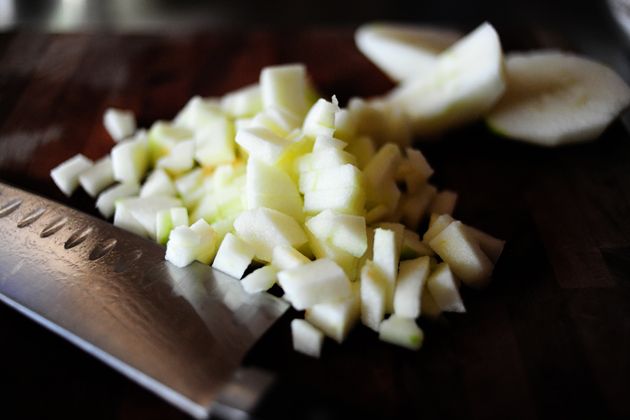
And dice them. Keep the chunks on the small side so the apples have a chance to cook.
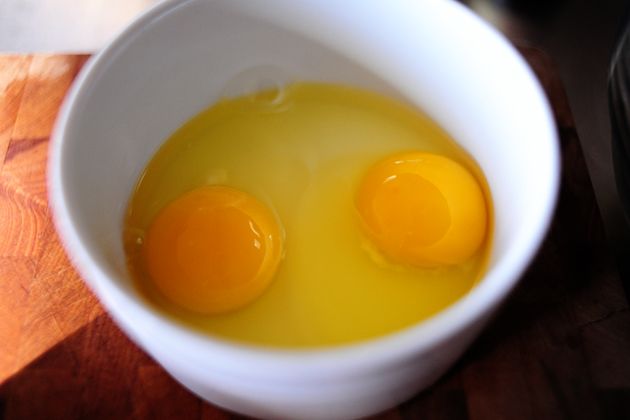
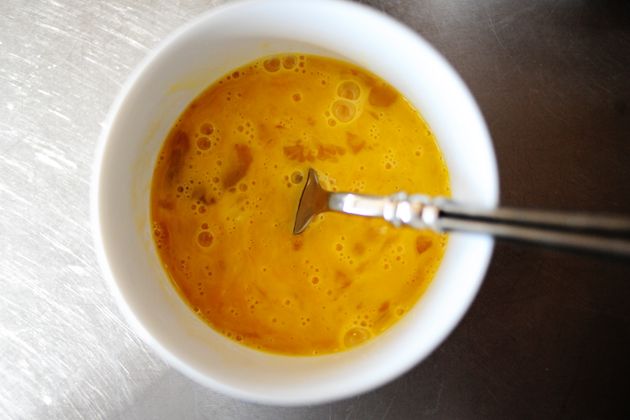
In a separate bowl, crack two eggs…
Beat them with a fork…
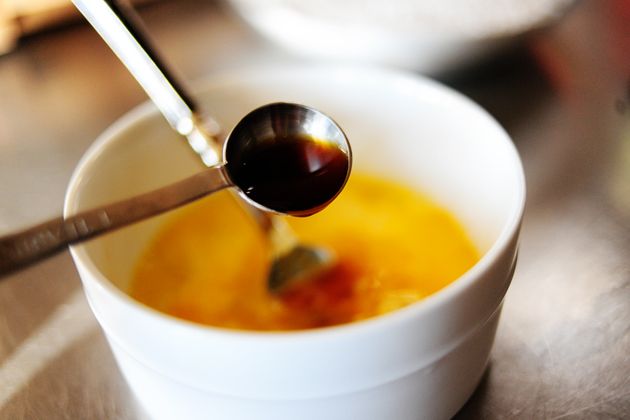
Add the vanilla…
And mix it together.
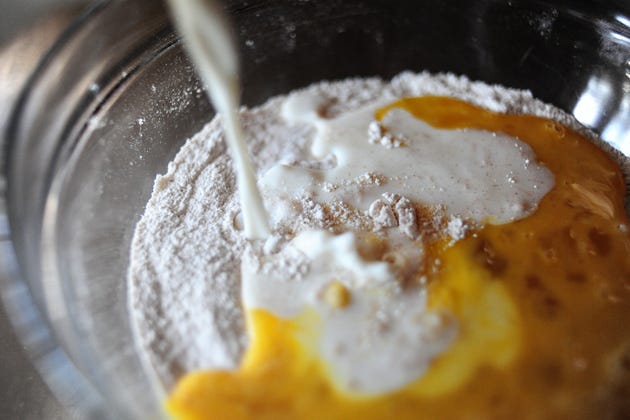
Pour the egg mixture and the milk into the dry ingredients…
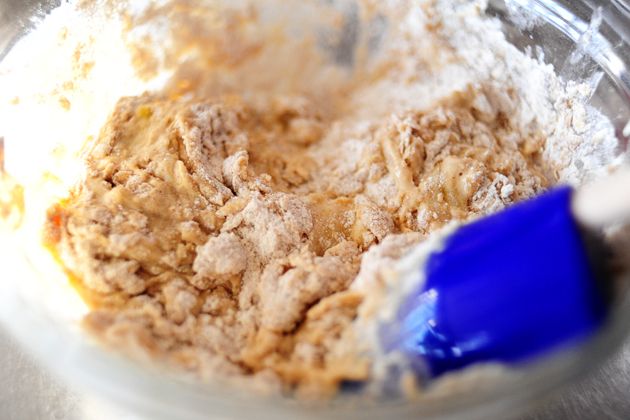
And fold it together gently, until it’s not quite combined.
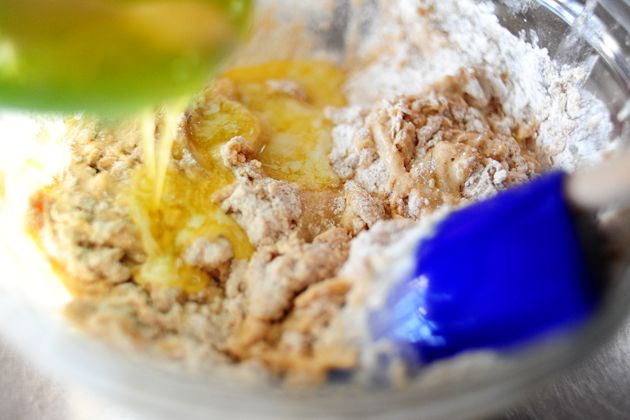
Next, add 2 to 3 tablespoons melted butter…
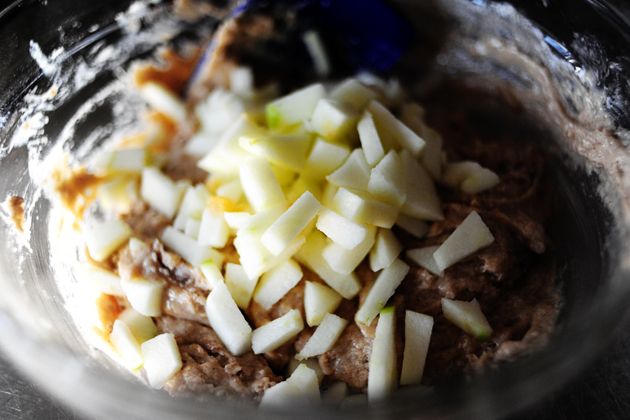
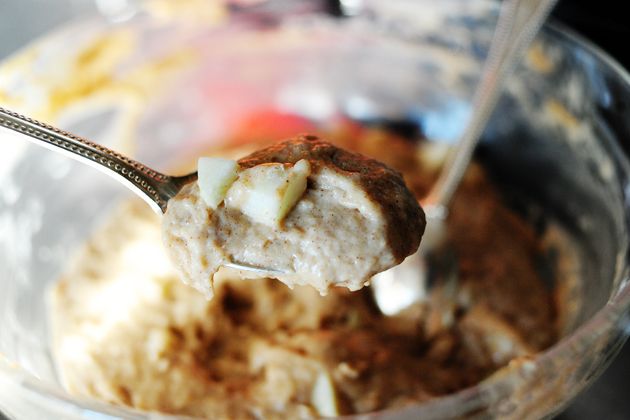
And the apples…
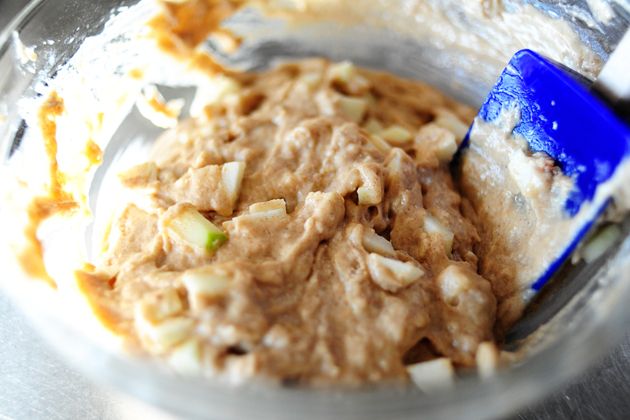
And fold together gently. It’s ready to go! If the batter doesn’t look chunky enough, by all means add more apples. You want the apples to shine through!
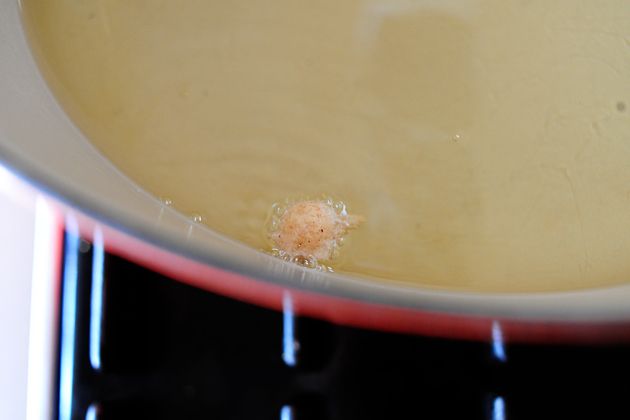
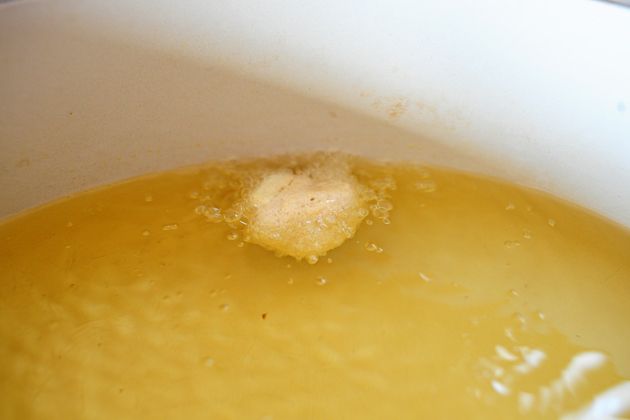
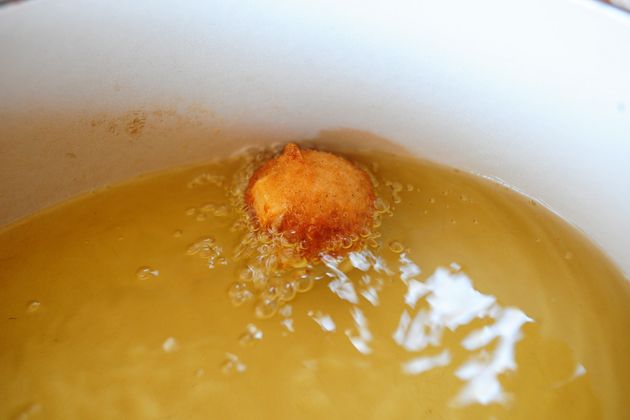
Now, to test the oil, I drop a tiny bit of batter into the oil. If it sizzles and rises to the top immediately, the oil is ready. If it immediately browns and starts to burn, however, you need to decrease the heat a bit!
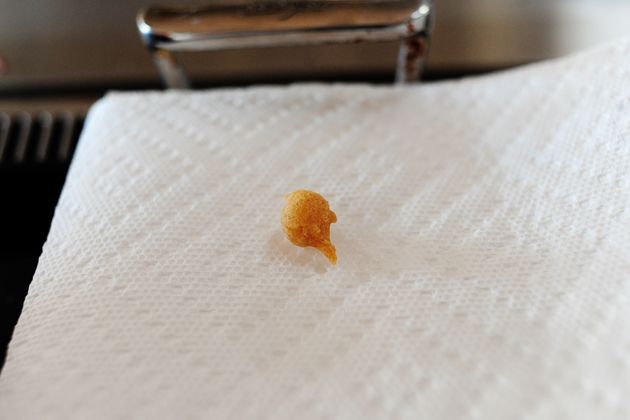
Aww. What a cute little test fritter.
I wonder…does the test fritter even know that it’s just a test fritter?
I know I’m not going to be the one to tell him after all he’s gone through.
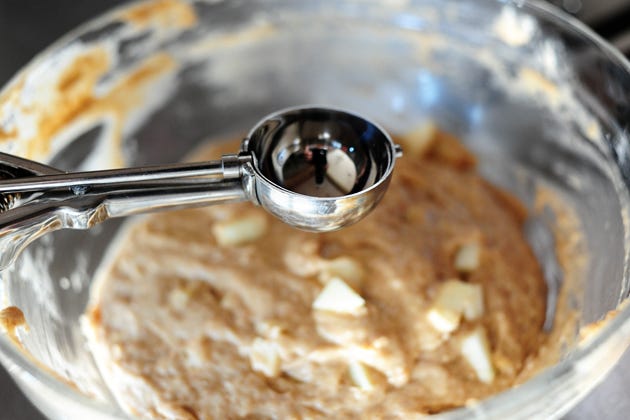
To make neat, round fritters, I use this little number.
I love these scoops, and they come in pretty much every size under the sun. They’re handy for so many different things!
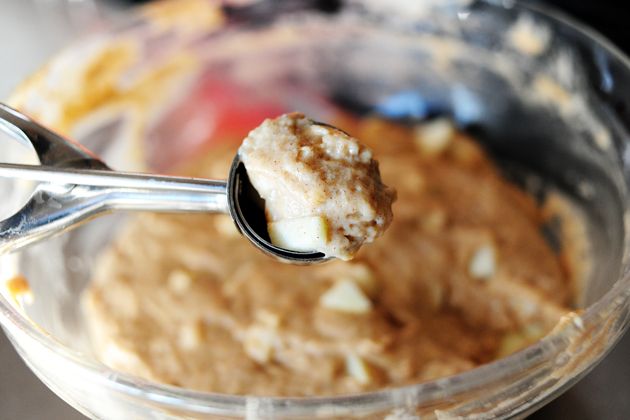
Scoop…
Drop…
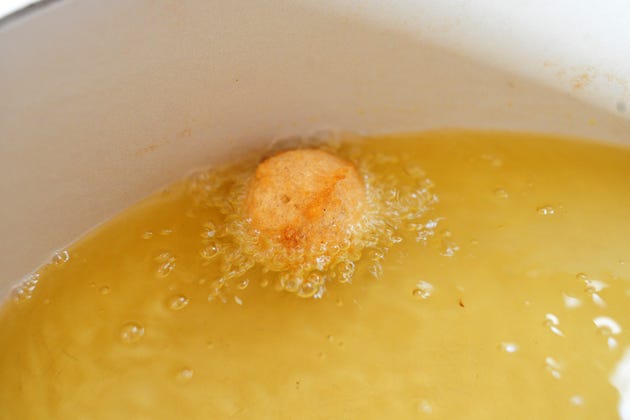
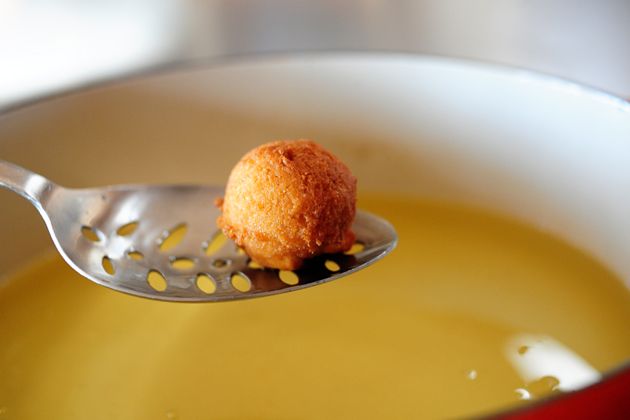
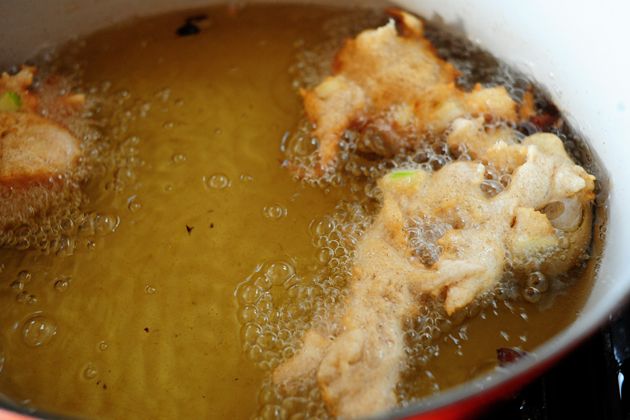
And it rises to the top and immediately begins browning. But not violently browning…just slow and steady.
This one actually flipped over on its own. It happens sometimes.
And a little under two minutes later, I took it out. You have to watch the fritters the whole time, just to make sure they don’t burn.
Now, the round shape above is cute and neat and all, but if the balls are too big, the batter in the very center will still be runny by the time you have to remove them from the oil. So make sure you don’t scoop too much batter at a time. Keep them small!
Another option is to use a regular teaspoon…
And drop them in.
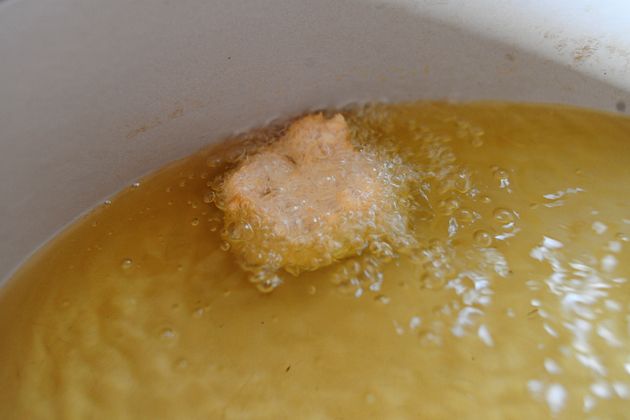
Or, if you like more wacky shapes and more surface area, drag the spoon as you’re dropping the batter into the oil. This results in a flatter fritter.
Flatter fritter. Say that ten times.
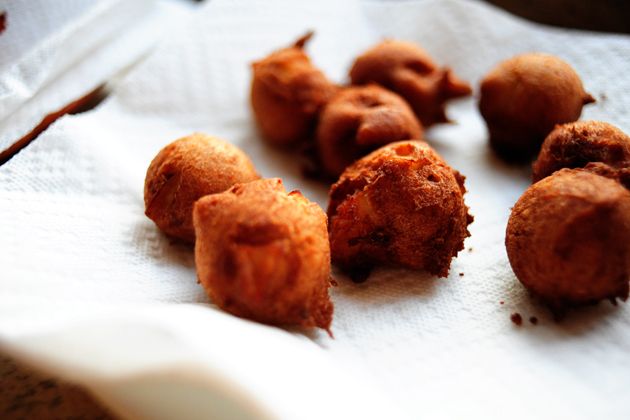
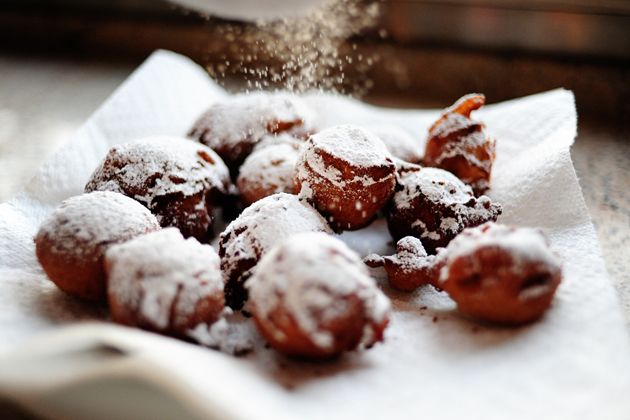
Remove the fritters from the oil and let them drain on a paper towel.
They should be crispy, crispy, crispy!
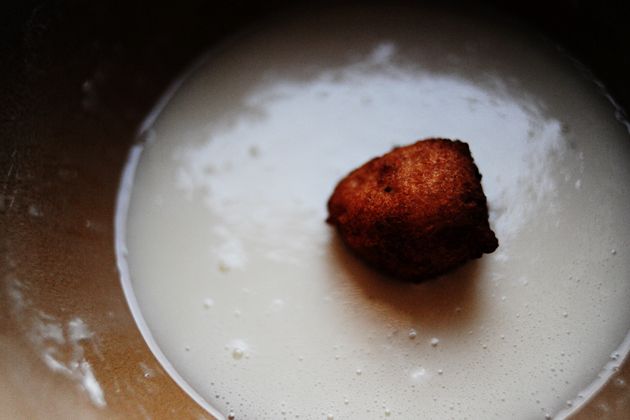
My favorite thing to do is immediately dunk the fritters, coating them thoroughly, in the simple glaze I use to coat my Homemade Glazed Doughnuts. I think it somehow anchors in the wonderful flavor and texture of the fritters, and gives them more of a doughnut quality.
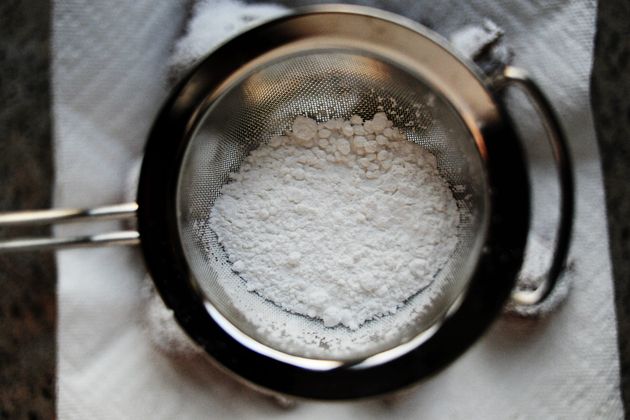
But an easier/quicker approach, of course…
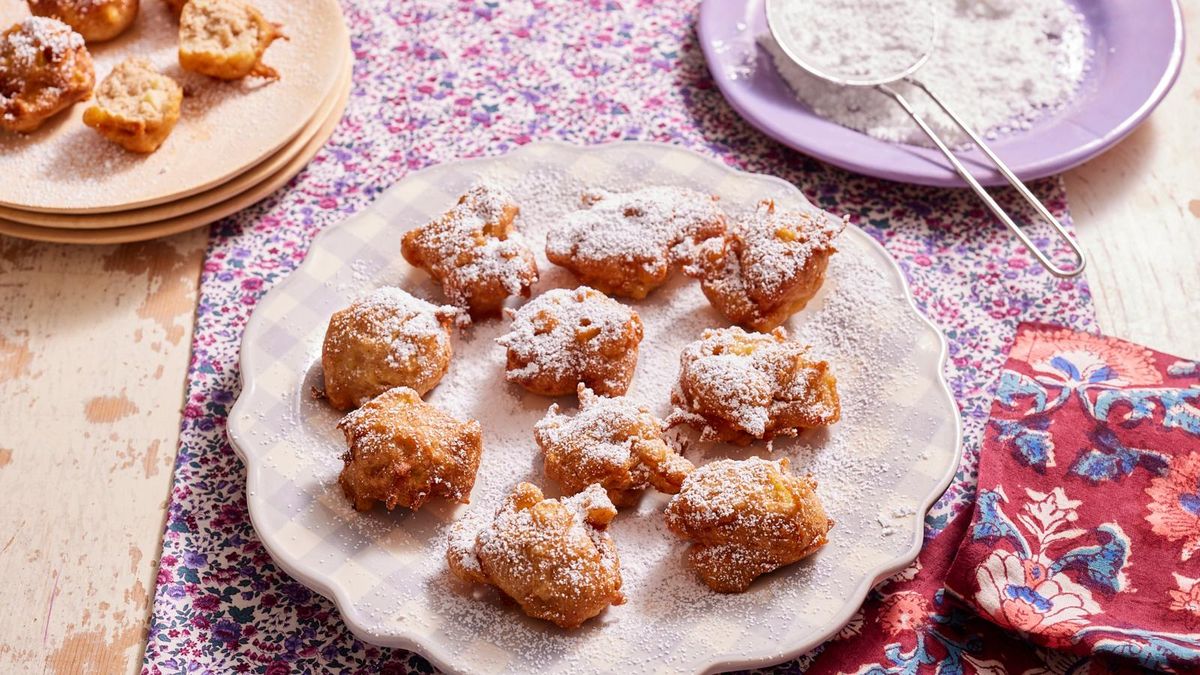
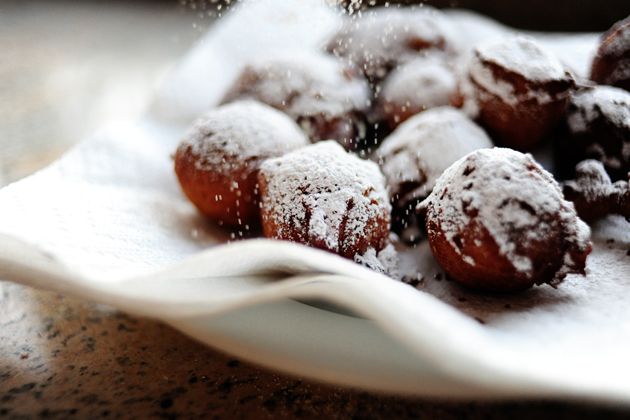
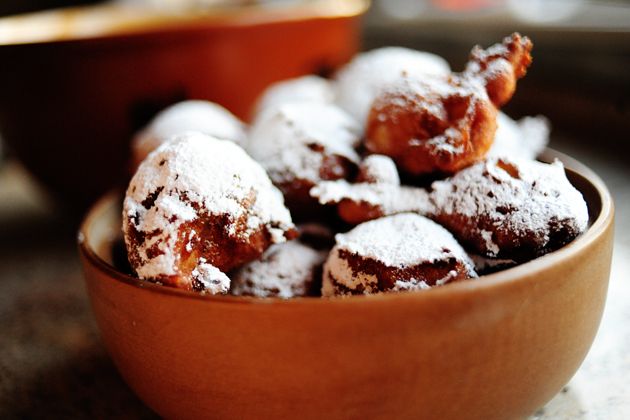
Is a very generous dusting of powdered sugar. Yum!
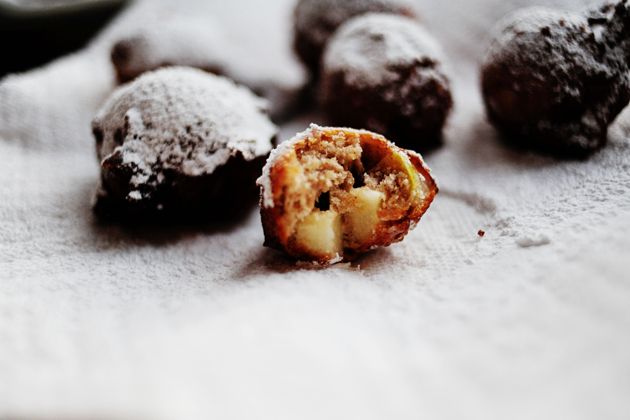
Mmmm. Perfect! The fritter is done all the way through, and there’s plenty of apple in there to make it extra delicious.
And don’t skimp on the fritters! Make a ton—you can heat them up the next morning in a 350-degree oven for 8 to 10 minutes, and they’re totally delicious…maybe even more so.
Enjoy!
