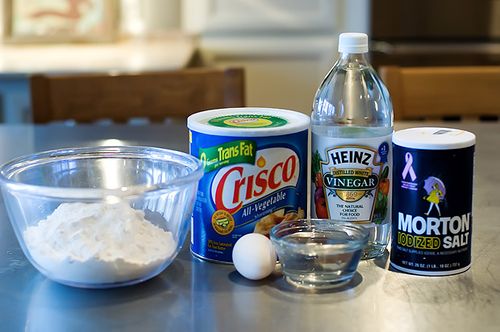
The cast of characters: Crisco (vegetable shortening), flour, salt, water, vinegar, and egg. Oh, how could anything so right ever go wrong?
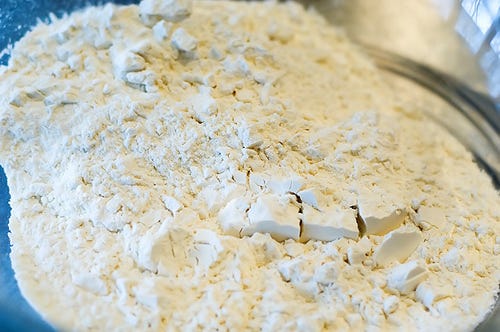
First, measure 3 cups all-purpose flour into a mixing bowl.
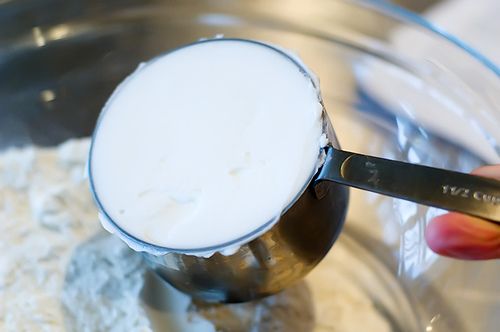
Next, measure 1 1/2 cups Crisco. For once in my life, I’m going to say this…and then it will never happen again: You must use Crisco, not butter. Butter simply will not work.
Lord, please forgive me.
And what is UP with my finger in this photo? How scary does THAT look?
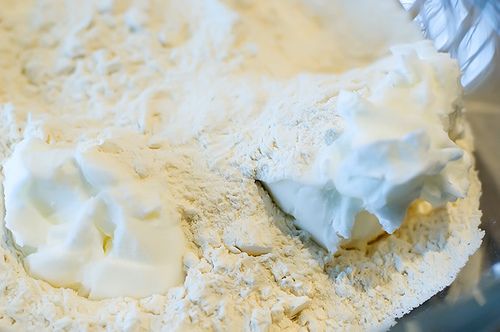
Add the Crisco to the flour…
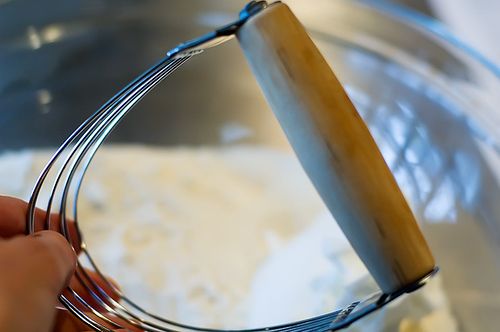
And find your pastry cutter. It really is an essential tool when it comes to pie crust. (Yeah, yeah, you can use “two knives” and all that, but I’ve never done that successfully. Actually, I’ve never tried it. But if I ever tried it, I know it wouldn’t work. I just know it.)
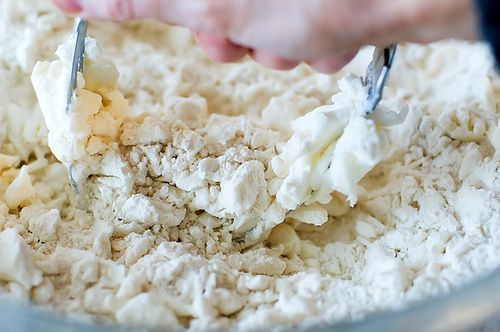
Using the pastry cutter…
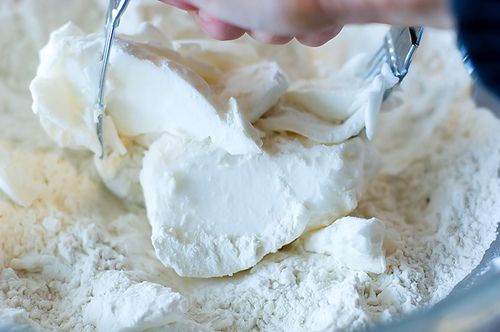
Just gradually work the Crisco into the flour.
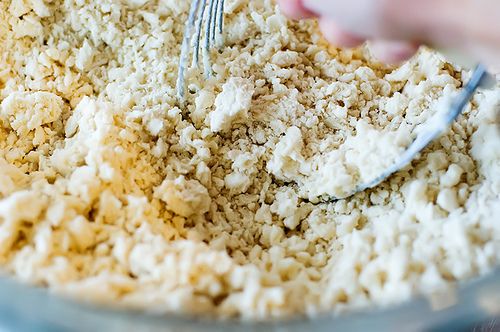
You should expect this to take 3 to 4 minutes…
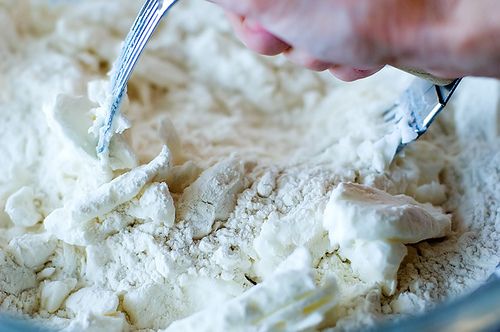
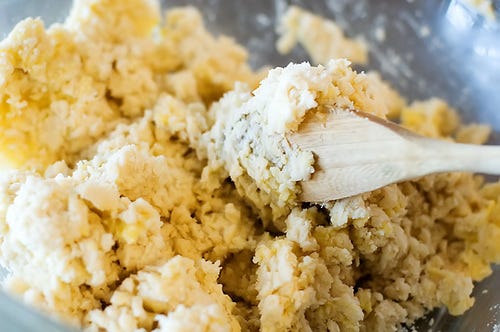
Just keep working until the mixture resembles “coarse meal,” though I’ve never really understood what that means. Basically, there should be no large chunks of shortening left; it should all be integrated into the flour. Or the flour should be integrated into the shortening. It’s all how you look at it.
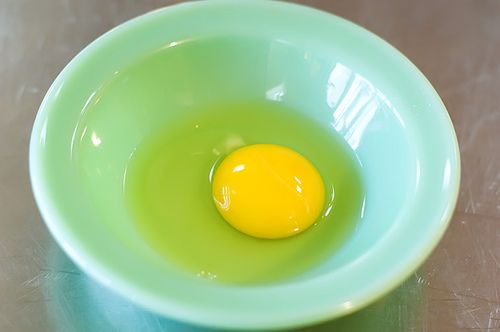
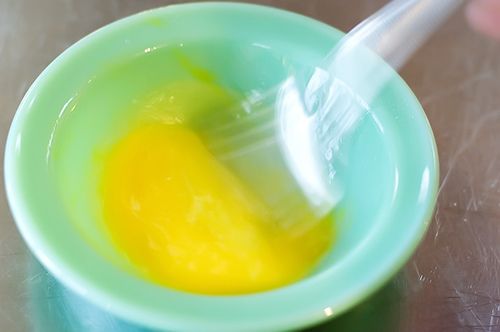
Now crack an egg into a bowl…
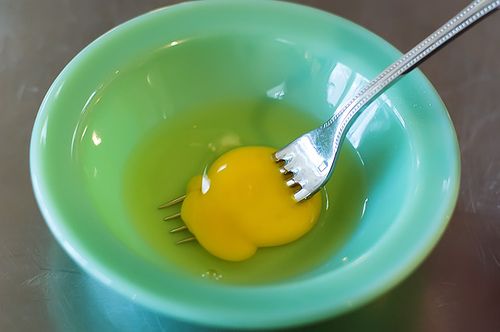
And beat it with a fork.
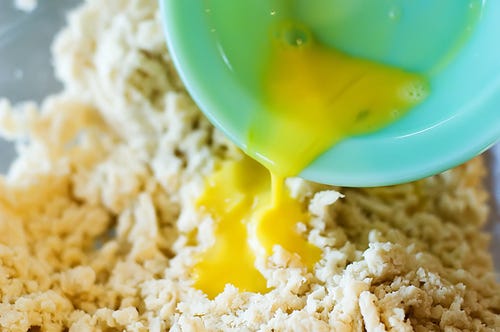
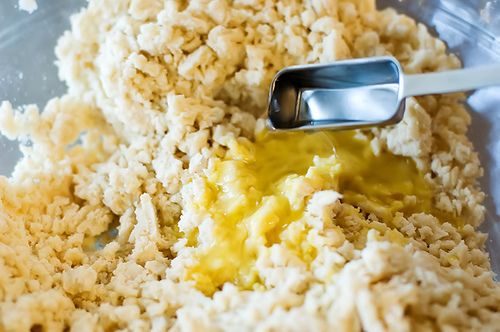
Now pour the egg into the flour/shortening mixture.
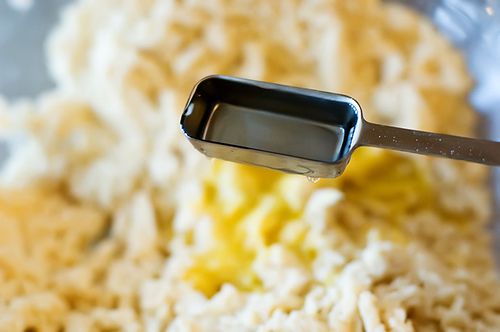
Add 5 tablespoons cold water…
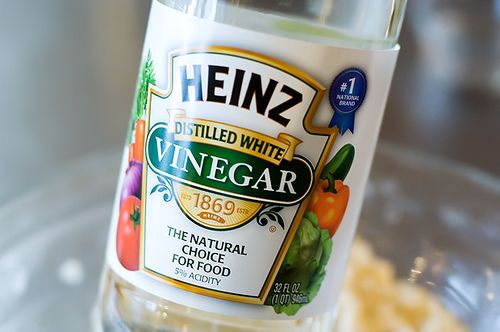
Then find your white vinegar…
And add 1 tablespoon.
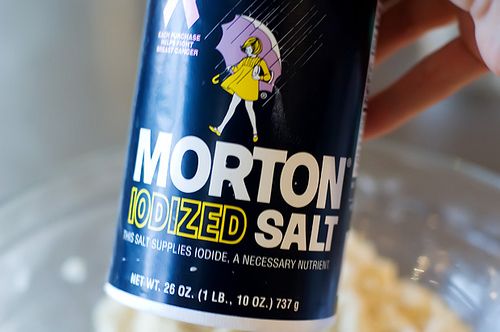
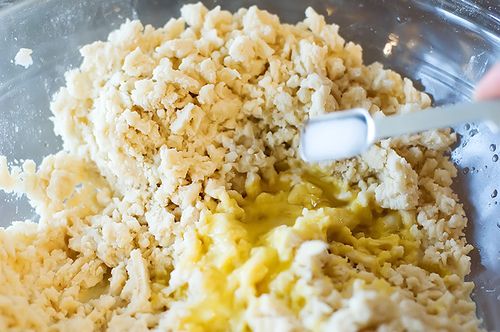
Next, add 1 teaspoon of salt…
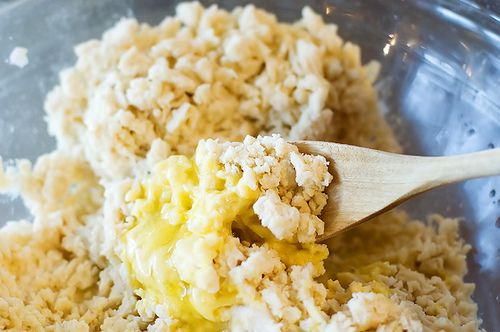
And stir together gently.
That means don’t beat the tar out of it. Just incorporate the ingredients, man.
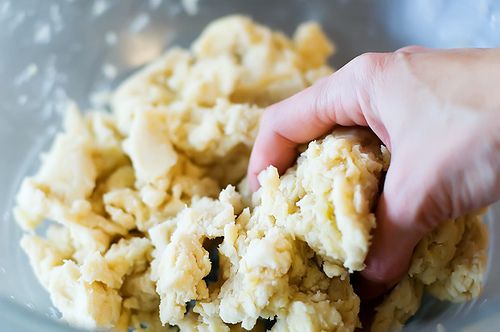
Now stick your big claw into the bowl and remove one-third of the dough.
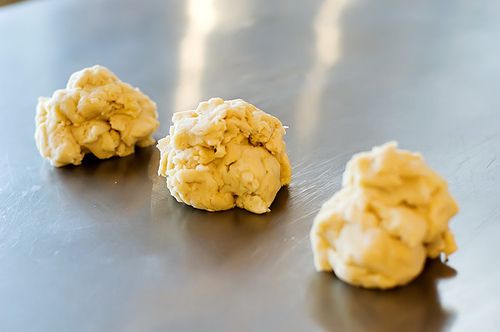
Repeat to form three evenly-sized balls of dough.
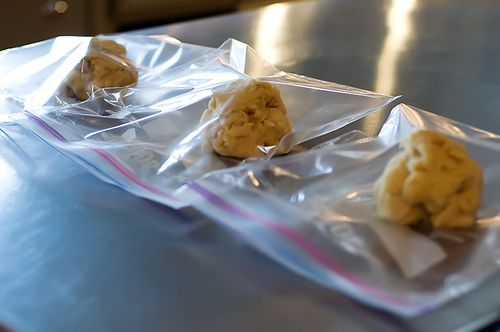
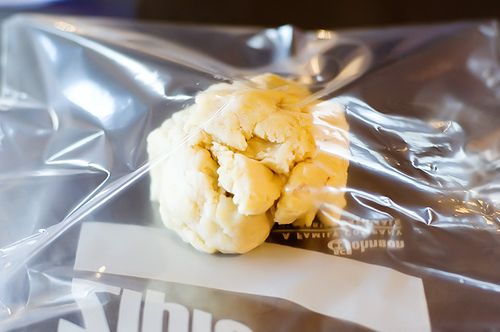
Now place each dough into a large Ziploc bag.
We’re going to prepare the balls of dough for freezing.
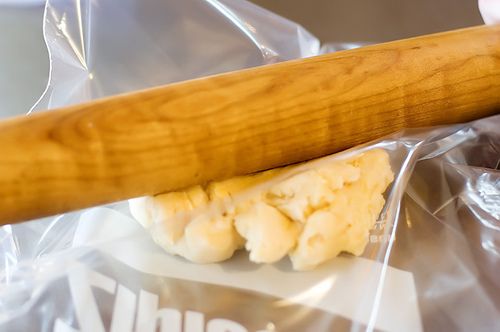
Using a rolling pin, slightly flatten each ball of dough to make rolling easier later…
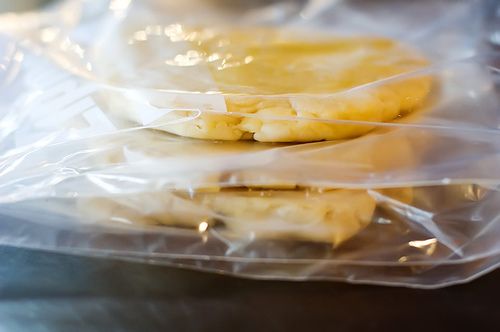
Then seal each Ziploc and place bags in the FREEZER—yes, Sylvia, I’m listenin’ to ya, honey—until you need them.
Now, this is how my life works: I intended to freeze the dough for about twenty minutes, allowing it to firm up and make rolling easier for the pie I was about to make for you, my precious, darling, beloved readers. Then I got a call from an acquaintance of mine who’d been caught in the blinding snowstorm that hit our country this afternoon. She’d run off the highway and was stuck in the ditch, and wanted to know if Marlboro Man and I were free to come help her. Of course, I told her we’d be right there, and within minutes we’d loaded up the kids and headed toward our stranded motorist.
Marlboro Man hooked up a chain to her very lightweight pickup and, knowing how nervous she is about ice and snow, I offered to steer her vehicle out of the snow and drive her home. Because he’s perfect at everything, Marlboro Man got us out, said, “Follow me,” and headed toward our friend’s house in the country. “You’re so brave,” our friend gushed as I took off down the highway. “I’m so nervous in this kind of weather.”
“Aww, it’s no big deal,” I said, taking one hand off the steering wheel and leaning back comfortably. “After eleven years of marriage out here, I’ve had to learn how to drive in ice and snow.”
Then the very lightweight pickup began to fishtail and I promptly used my mad ice driving skillz to drive right into a huge snowdrift in the ditch. Then I felt a little silly about what I’d just said about the eleven years of marriage and the learning to drive in ice and snow and all that.
All this to say, Marlboro Man had to turn BACK around and pull ME out of the ditch, and when we finally arrived back home, the pie crusts were hard as a rock in the freezer. I wondered how this might affect the taste of the baked crust later? Would it damage the integrity of the ingredients? Marr the beauty of the perfect mixture? Only time would tell.
I was pleased, though, that it only took about fifteen minutes of thawing on the countertop before the dough was ready to roll. It’s best to begin while the dough is quite firm, so no need to wait around forever.
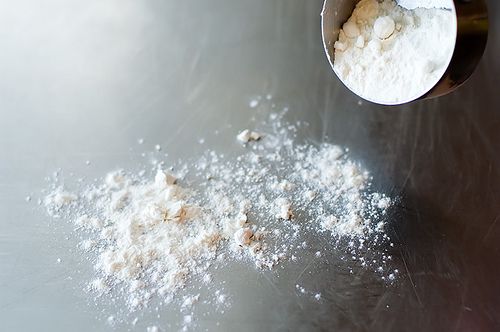
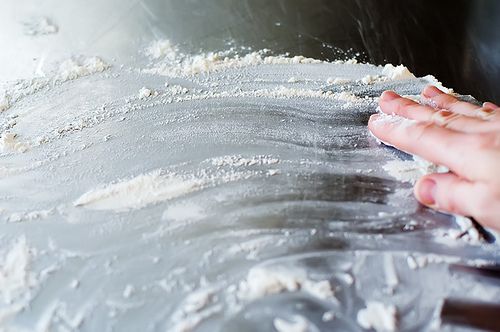
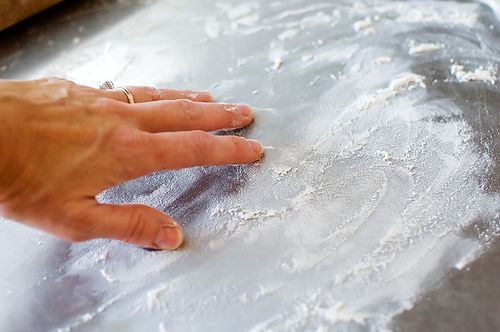
Begin by flouring the surface.
Spread out the flour so it’s evenly distributed, and if you ever have the opportunity to re-do any surface in your kitchen, I’d highly recommend plain ol’ stainless steel sheet metal. It’s cheap and smooth and seamless and cool.
And when I say “sheet metal,” I mean sheet metal. I didn’t have no fancy-schmancy high-fallutin kitchen designer have my stainless steel countertop specially fabricated. I called a sheet metal place, gave them my measurements, and said, “Can I have some stainless steel, please?” It was very gratifying.
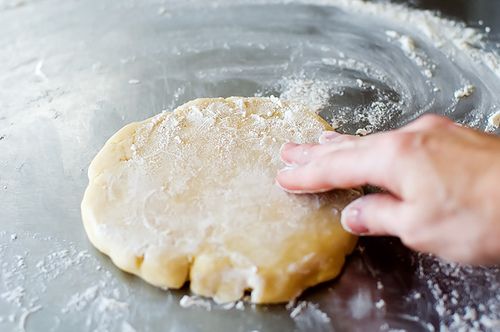
Now, remove the disc of dough from the Ziploc and place it on the floured surface. Sprinkle a little flour on top. The dough started out a little moist, so don’t be afraid to use a little flour to keep it from sticking.
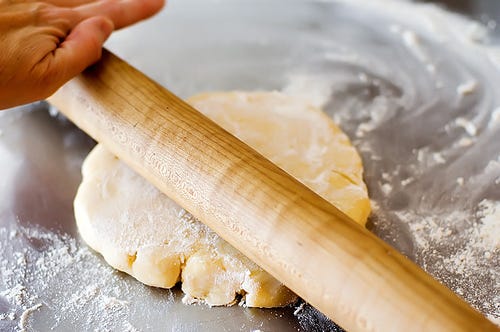
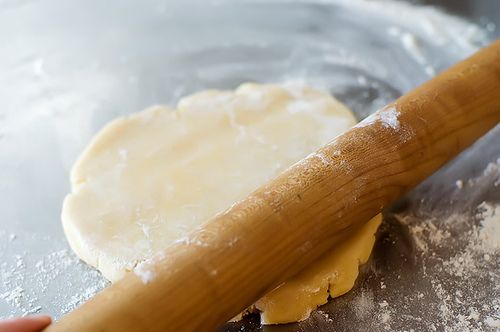
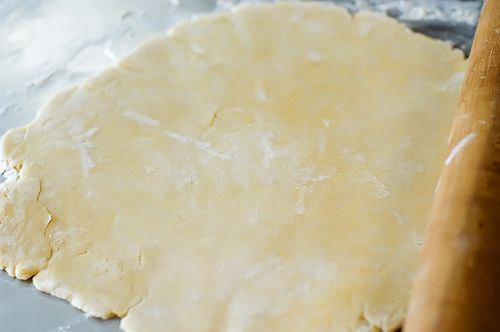
Now, with a rolling pin, begin rolling the dough from the center, outward.
Be on the gentle side. It’ll take some time to get it completely rolled out.
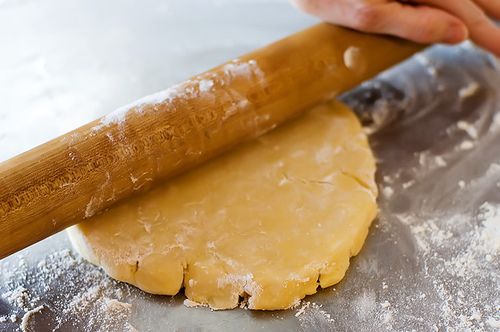
Just remember: roll from the center, outward in one stroke. Don’t do the ol’ Play-Dough back-and-forth, back-and-forth maneuver. Pie crust dough doesn’t like it.
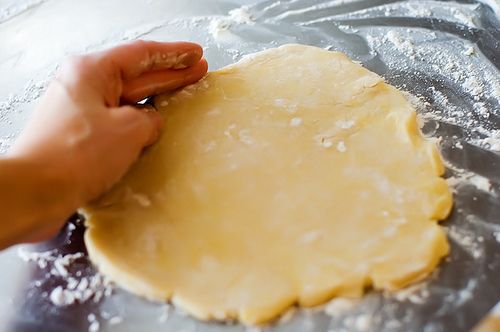
When the dough begins to crack around the edges, just use your hands to form it back into the shape of a circle.
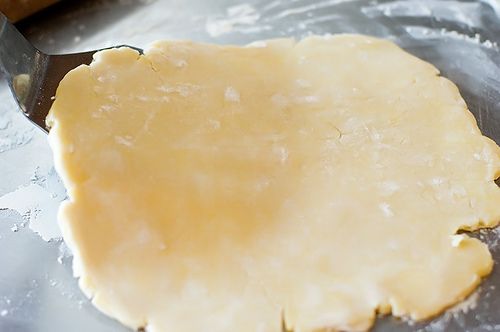
If you feel as though the bottom is really sticking to the surface below, just use a nice, sharp spatula and flip it over.
Just be sure to flour the surface again before you flip it.
Continue the rolling process until the rolled dough is about 1/2 inch larger (all the way around) than the diameter of the pie pan.
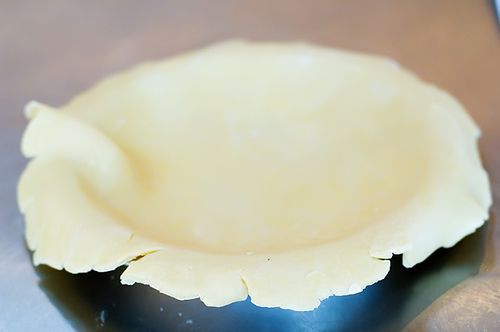
Then, with the spatula, if necessary, lift the dough from the surface and gently set it onto the pie pan.
And I like metal, traditional pie pans. Glass pie dishes are against my religion, but if that’s what you prefer, go forth in peace.
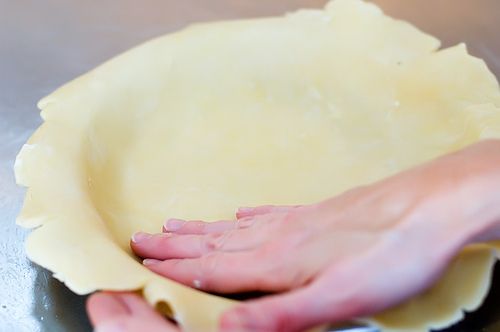
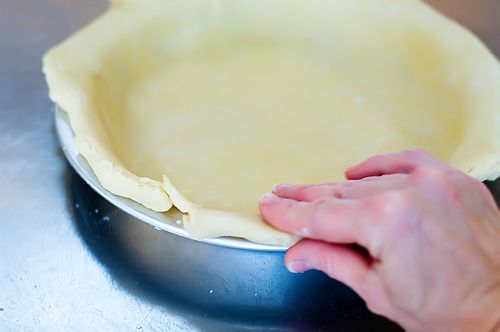
Gently adjust the dough so that it’s laying right against the pan.
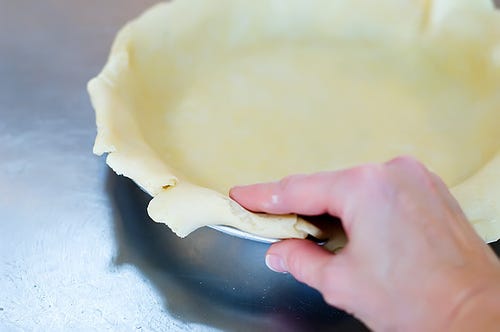
Now, I hate trimming the pie crust from around the pan, so I usually just tuck the excess dough under the rim…
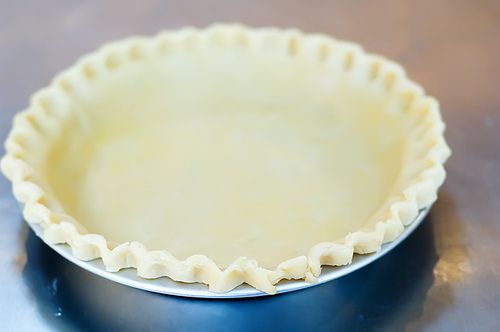
No need to be perfect; just go around the pie pan and tuck it under.
Then you can do things like this if you like. My ten-year-old helped me. I think it looks fine, and I’m generally not concerned about my pies looking absolutely perfect. What I care about is how much the finished pie makes Marlboro Man moan. Now that’s my measure of success.
Later on, you’ll be able to see whether that happened or not.
Do NOT miss it. It will inspire you to greatness in your life. And it will make your hips quiver with excitement. And fear.
